Blessed Ostara, everyone!
I have a delightful and fairly easy craft for you. A child would enjoy this one too, I think. You can make this as elaborate or easy as you would like. It takes minimal of clayworking skills. It does take a small amount of patience when painting your item. I don't generally use the colored clay because it isn't in the color that I want and I would have to paint it anyway. I also like to use Original Sculpey for my crafts.
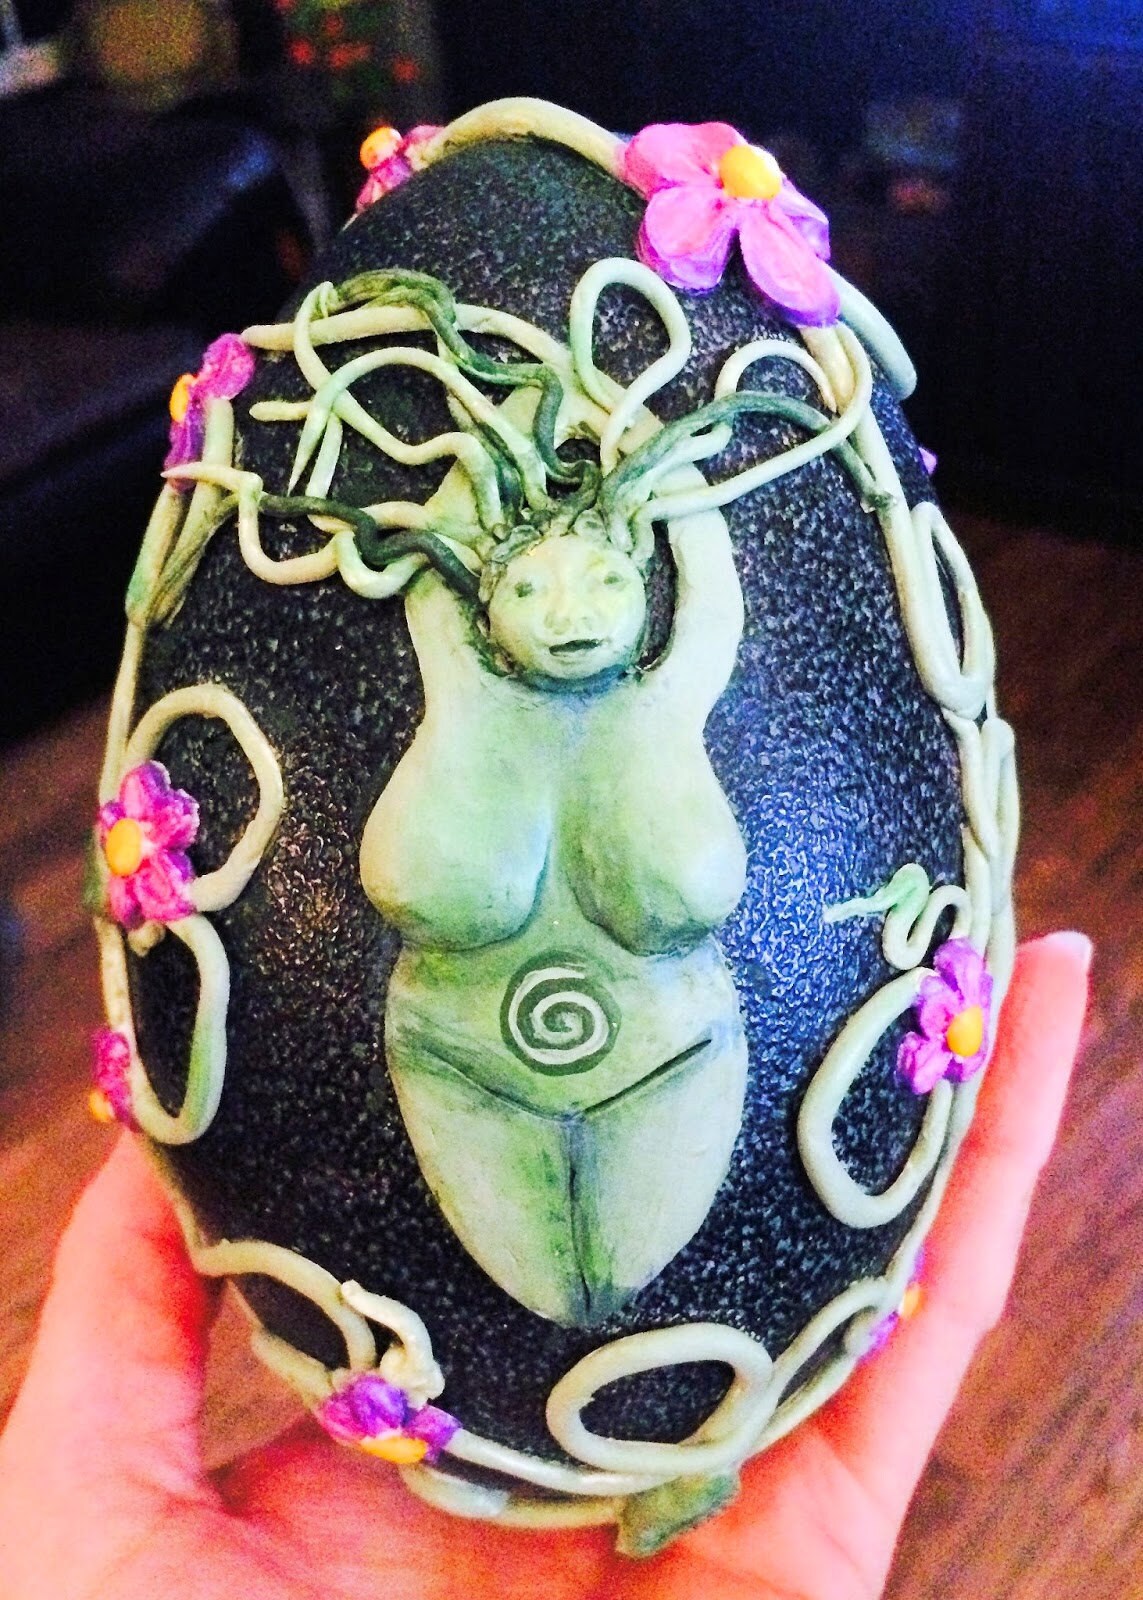
This will make a lovely altar/home decoration when you are finished. You can use one of the crystal ball stands to set it in.
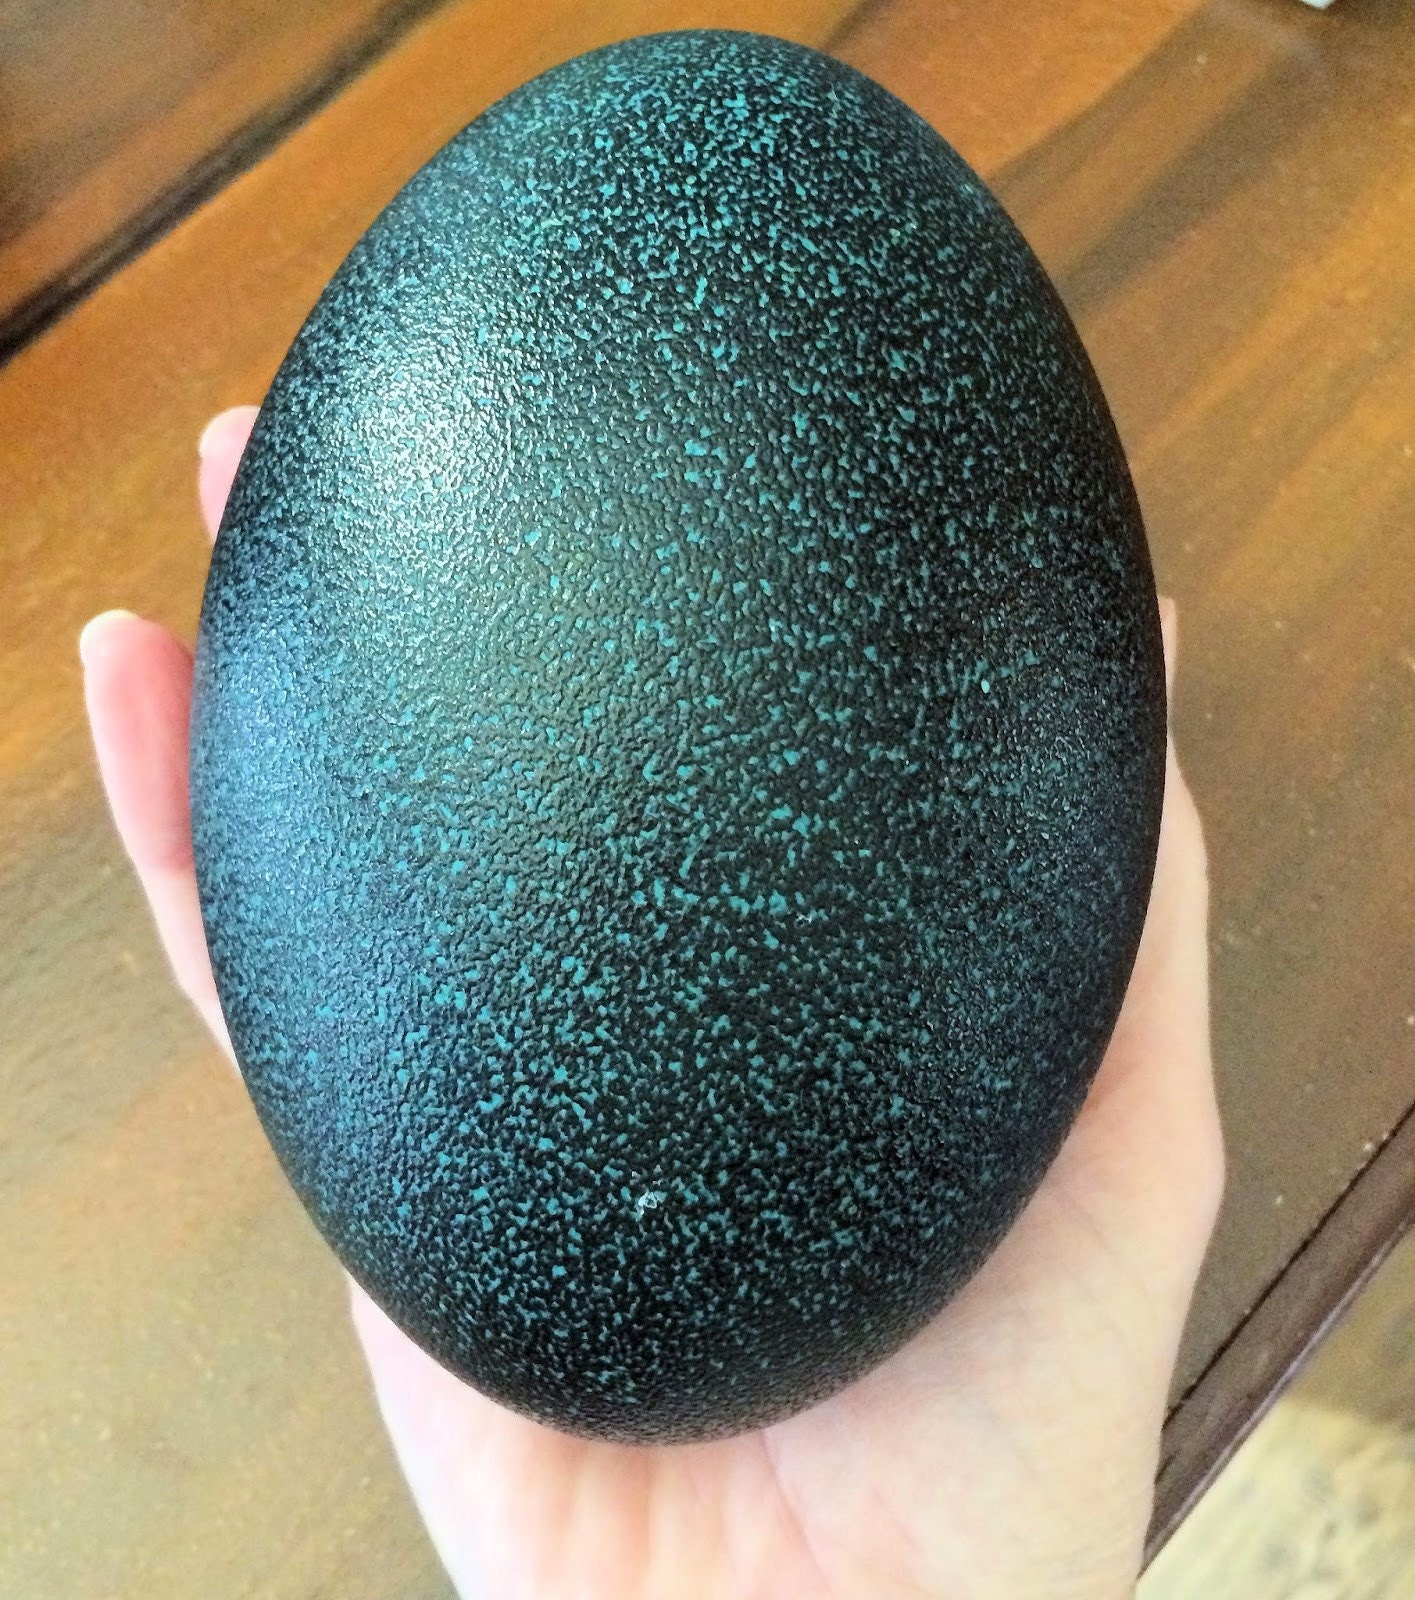
Emu eggs are a beautiful vibrant green color with a great shell texture. They look like they came from Emerald City. They can be pricey when looking for them. You want to be picky about them also because you don't want an extra large hole in the bottom of it. The smaller the better.
Items needed:
Emu egg Original Sculpey Clay Acrylic paints in your choice of colors If you want you can use a face mold for her face and leaf molds for the vines.
Start with a clean, dry egg. Do not scrub your egg. The color of the egg will scratch off if treated harshly.
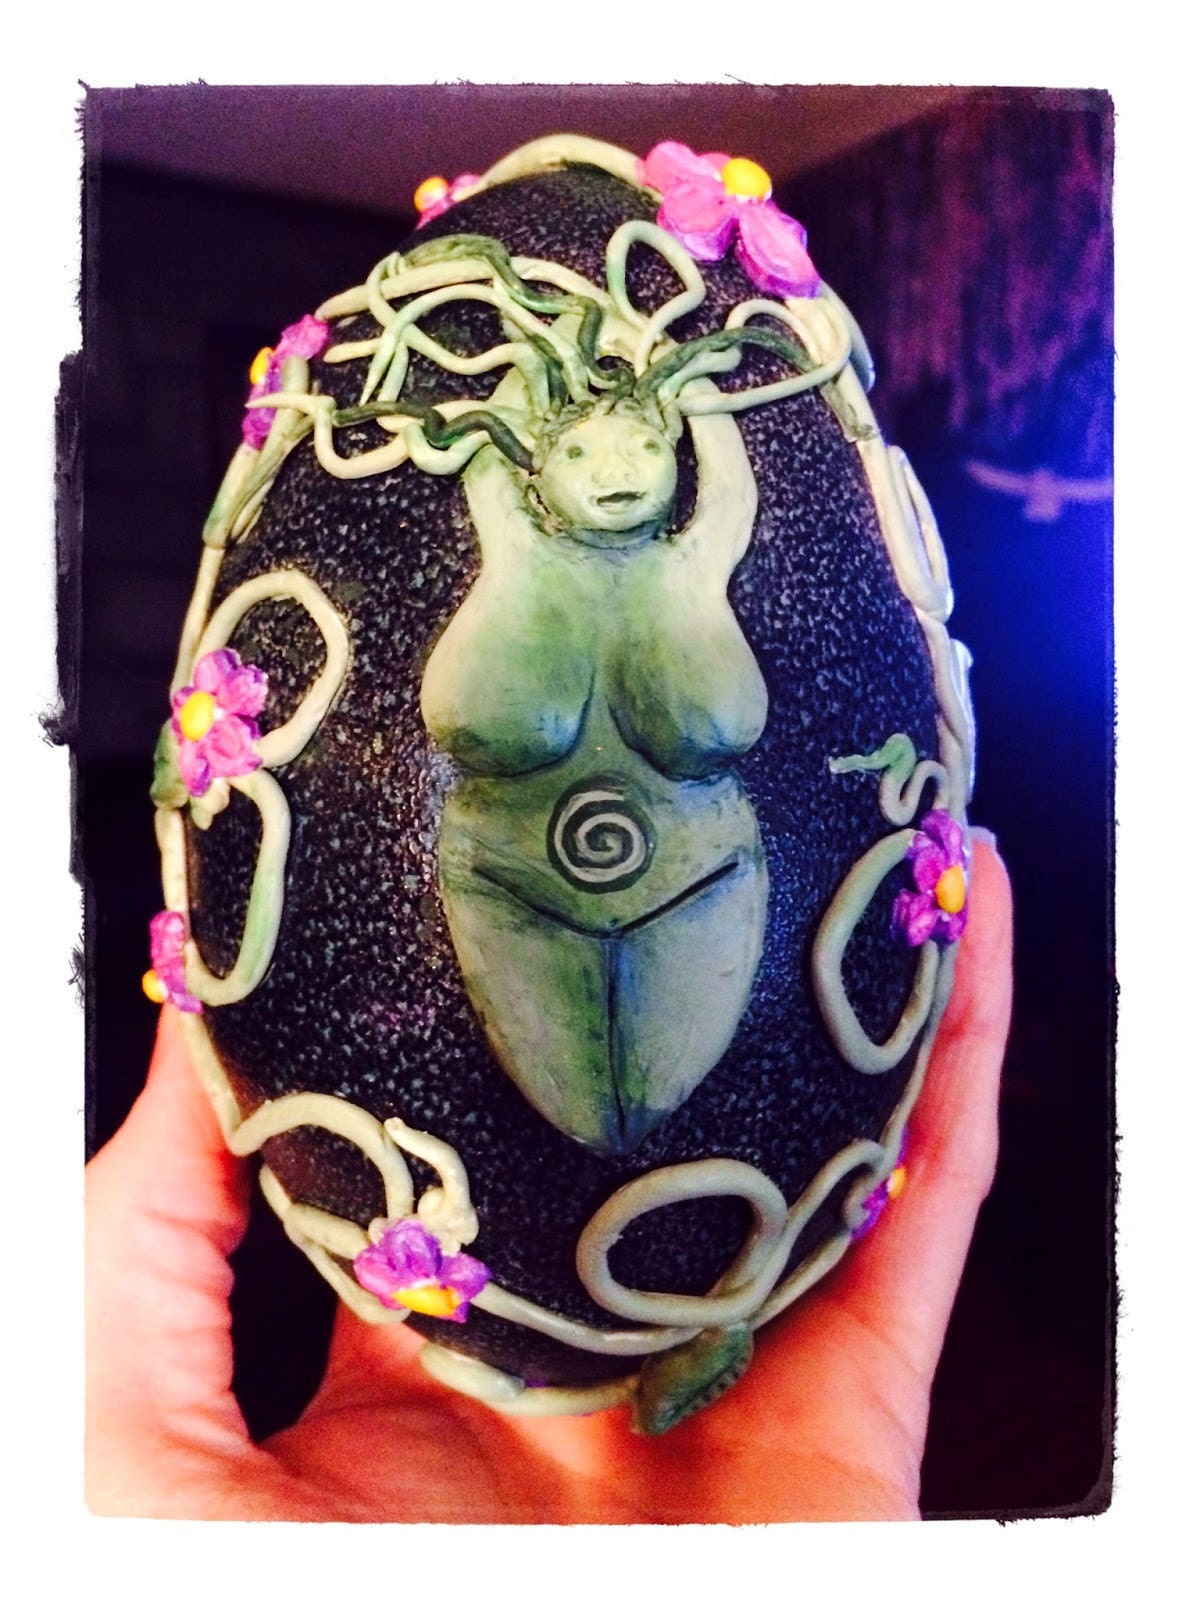
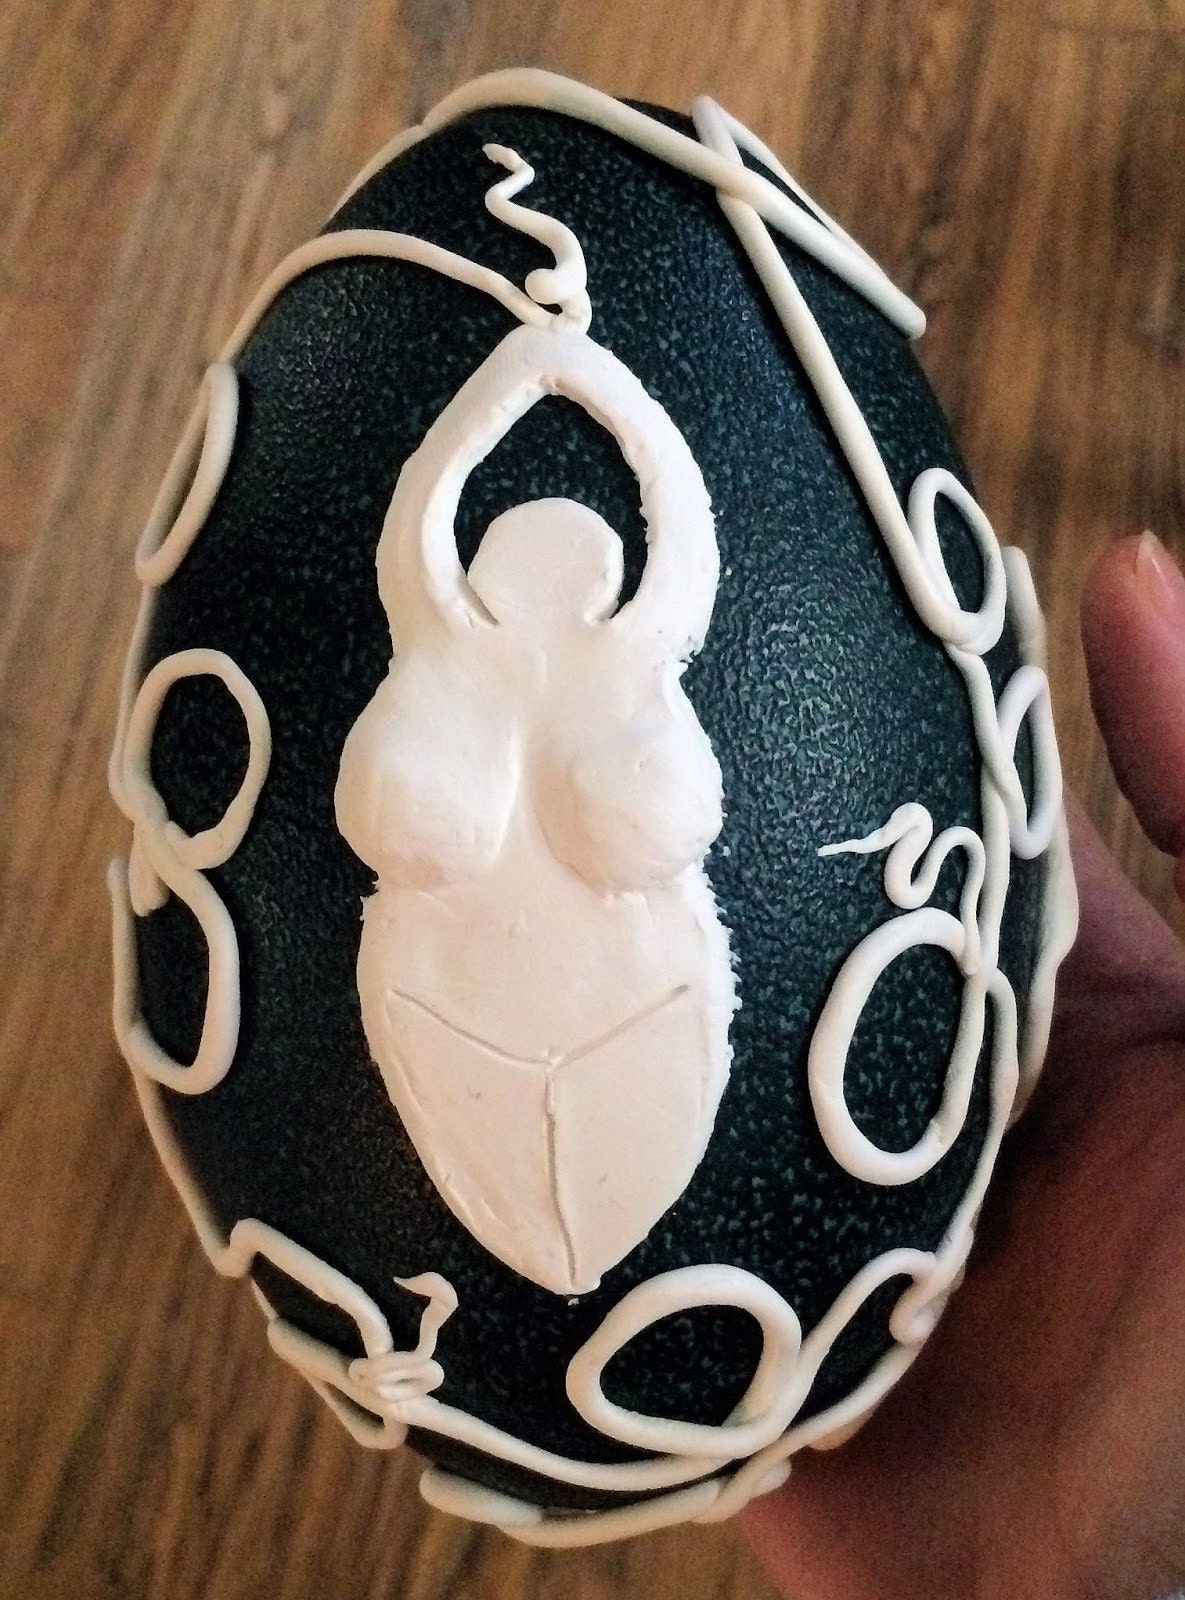
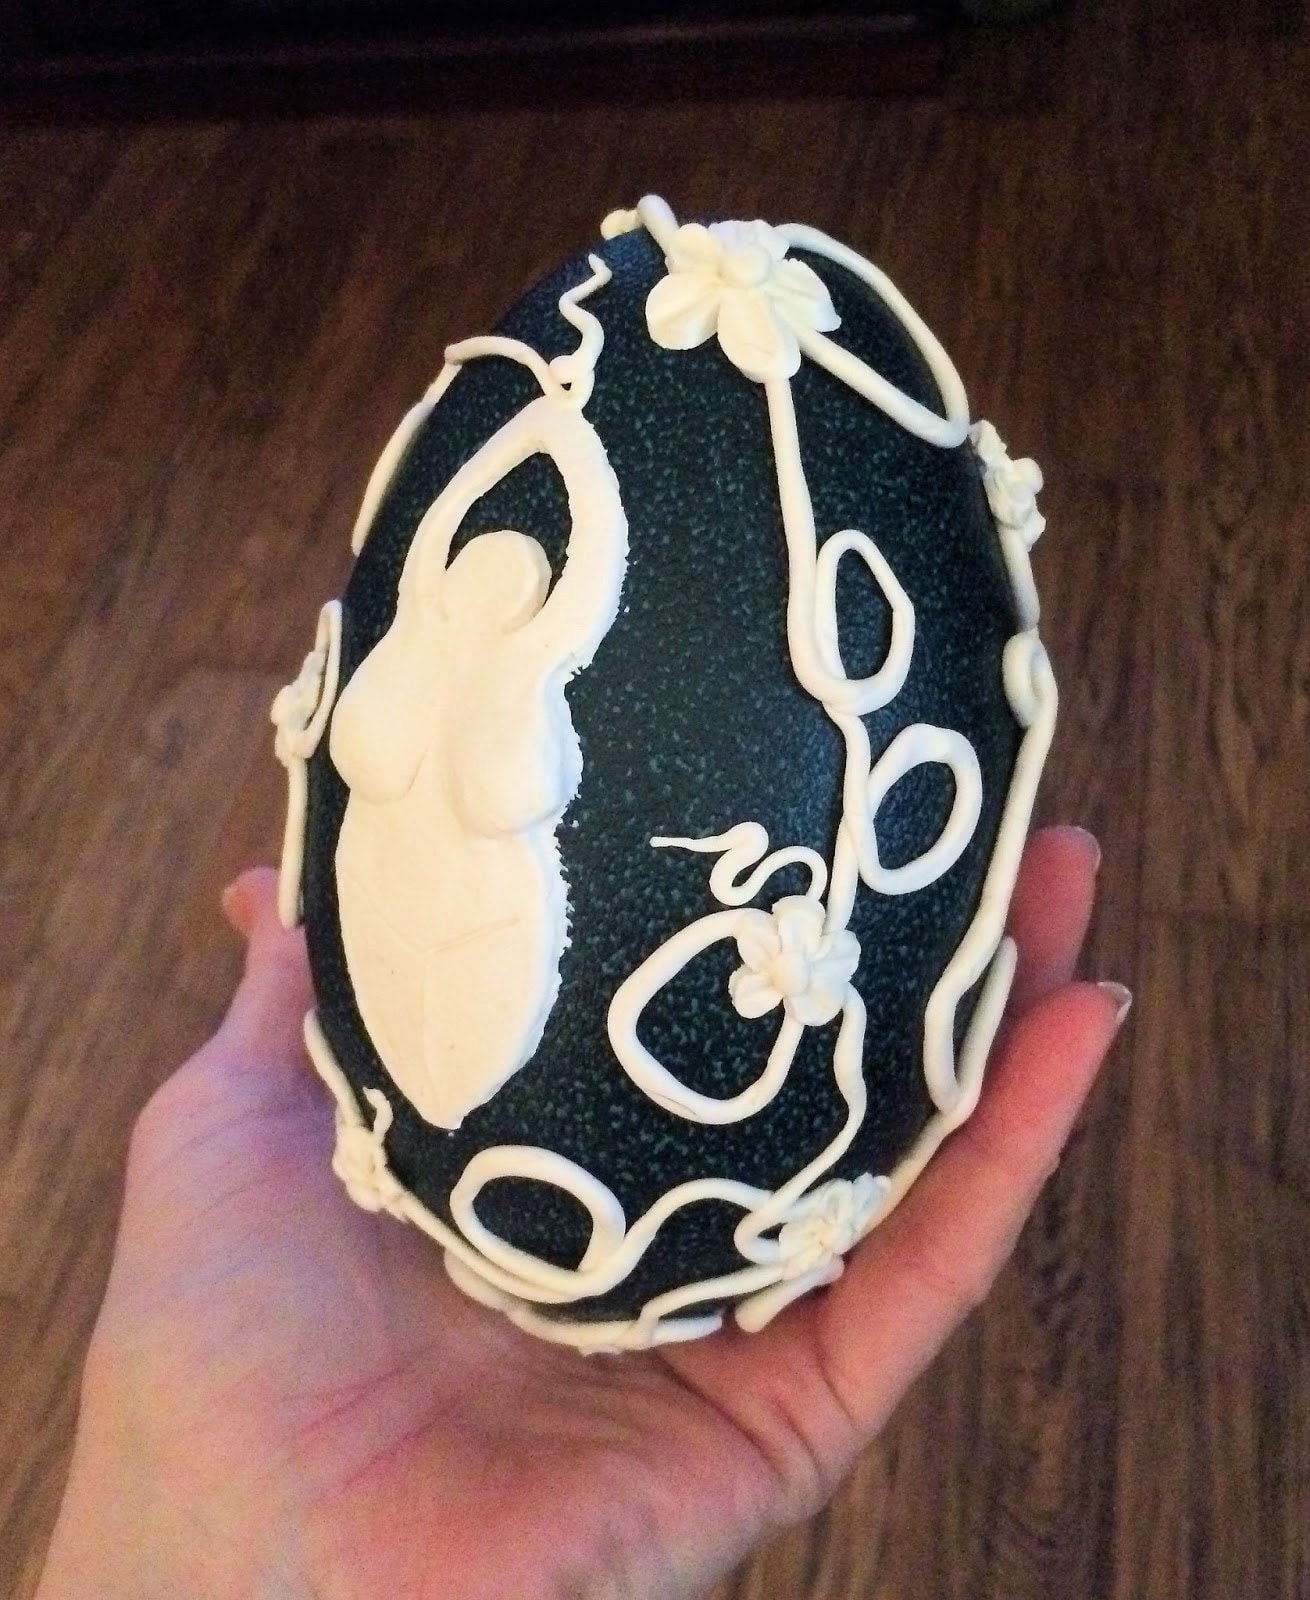
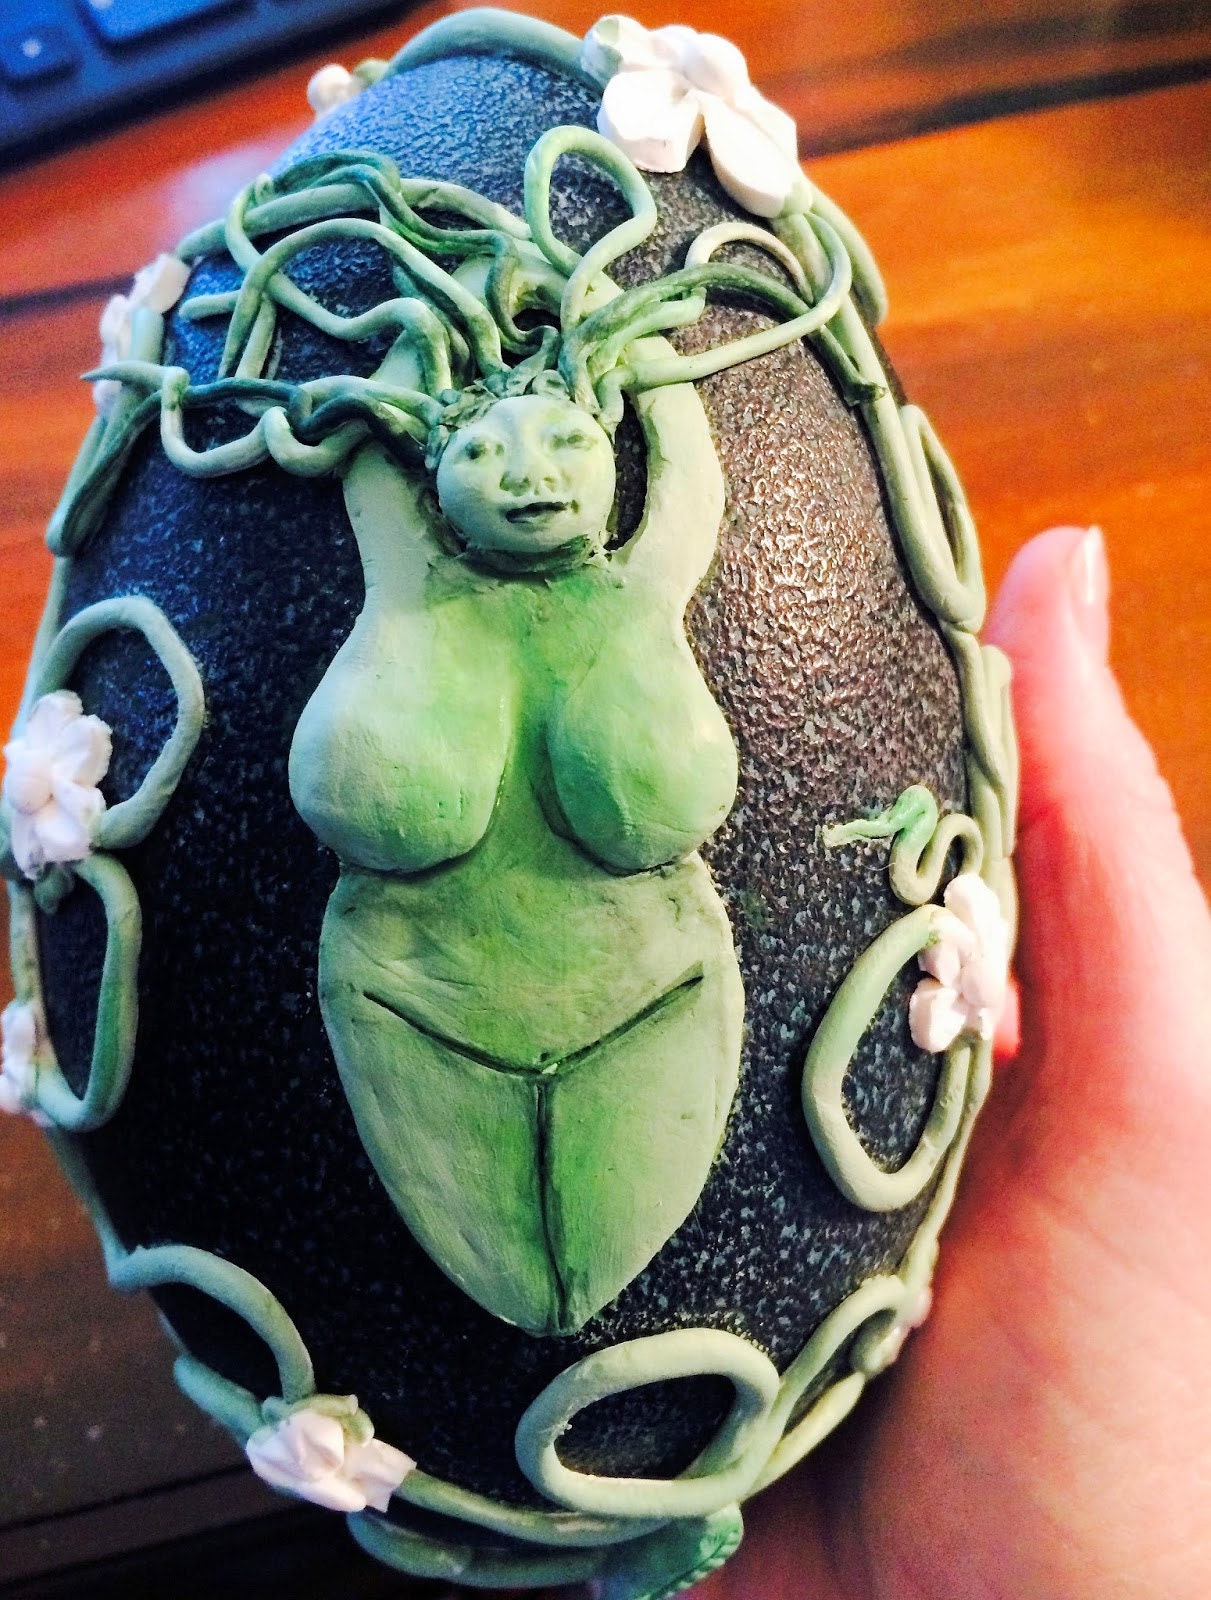
For this project I would like to convey the fertility and abundance of nature in spring, so I'm going to make a full-figured, lovely spring goddess in beautiful greens.
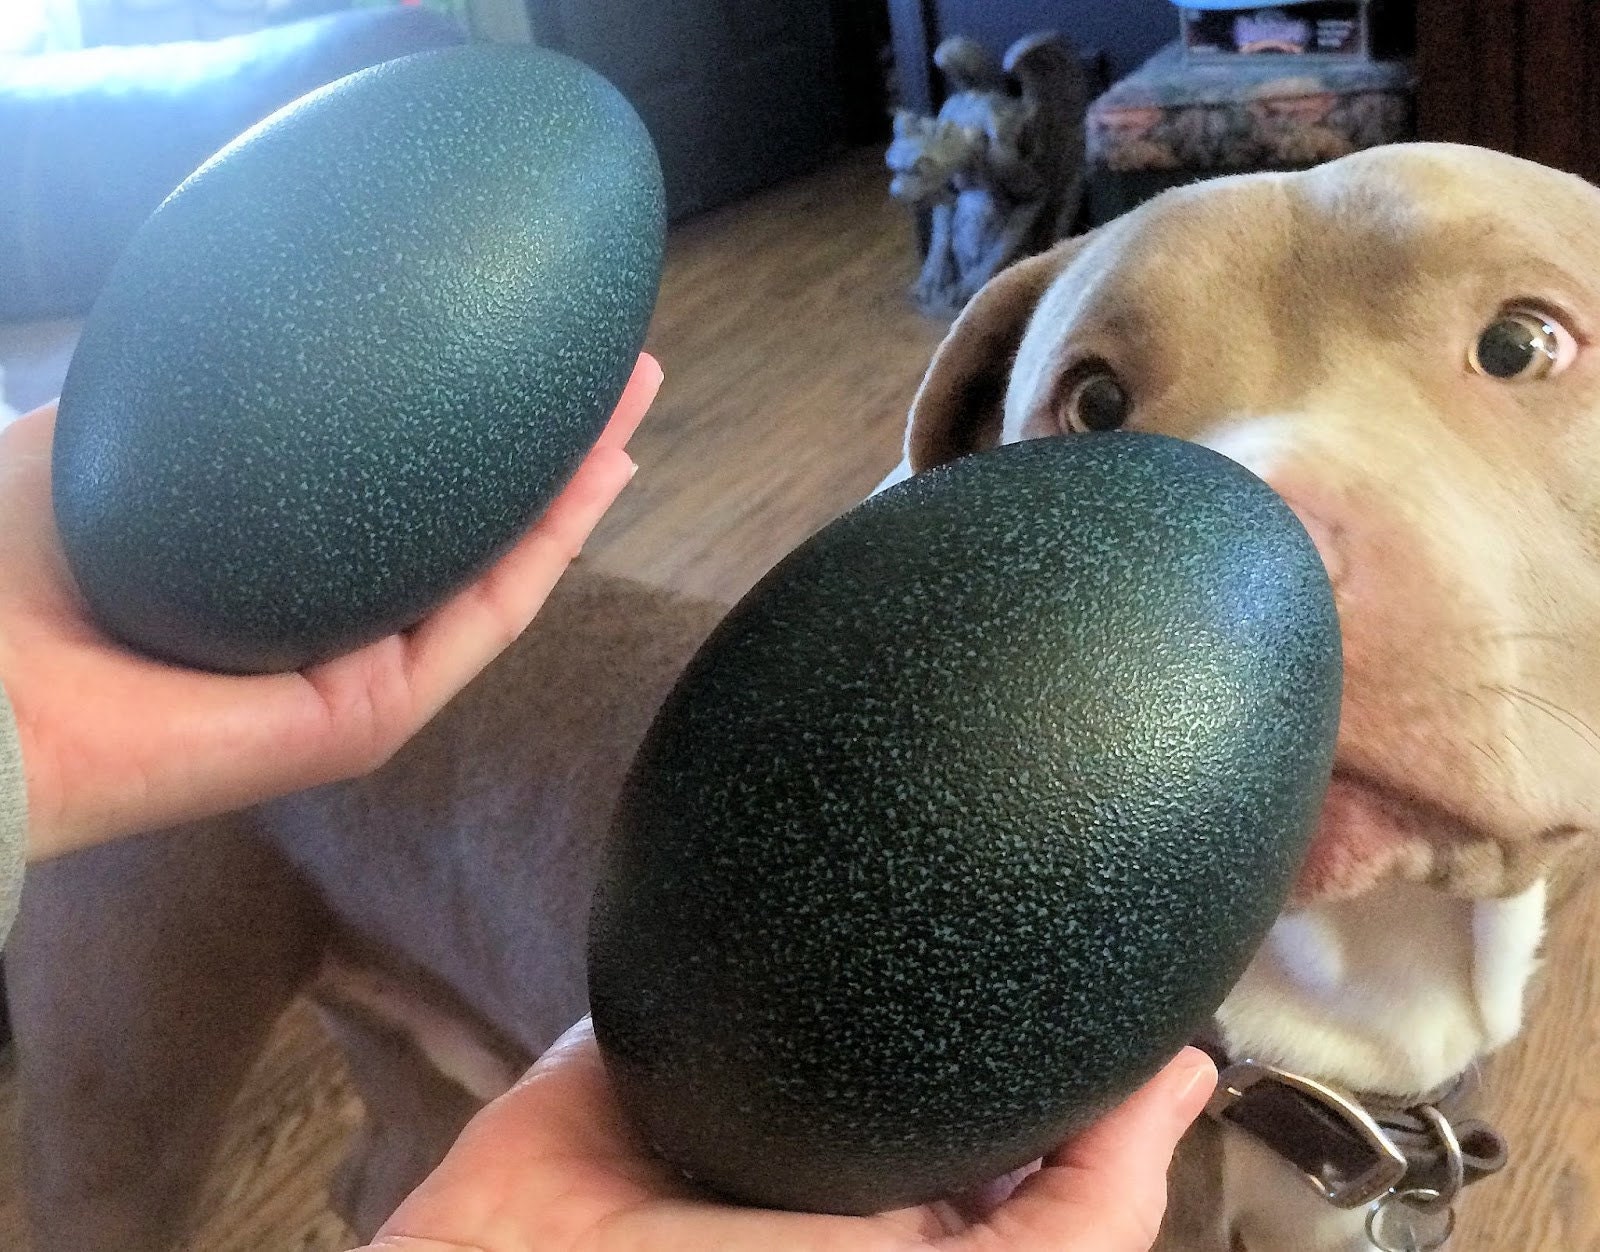
Here is my dog inspecting my eggs upon arrival. He confirms that they are good to use.
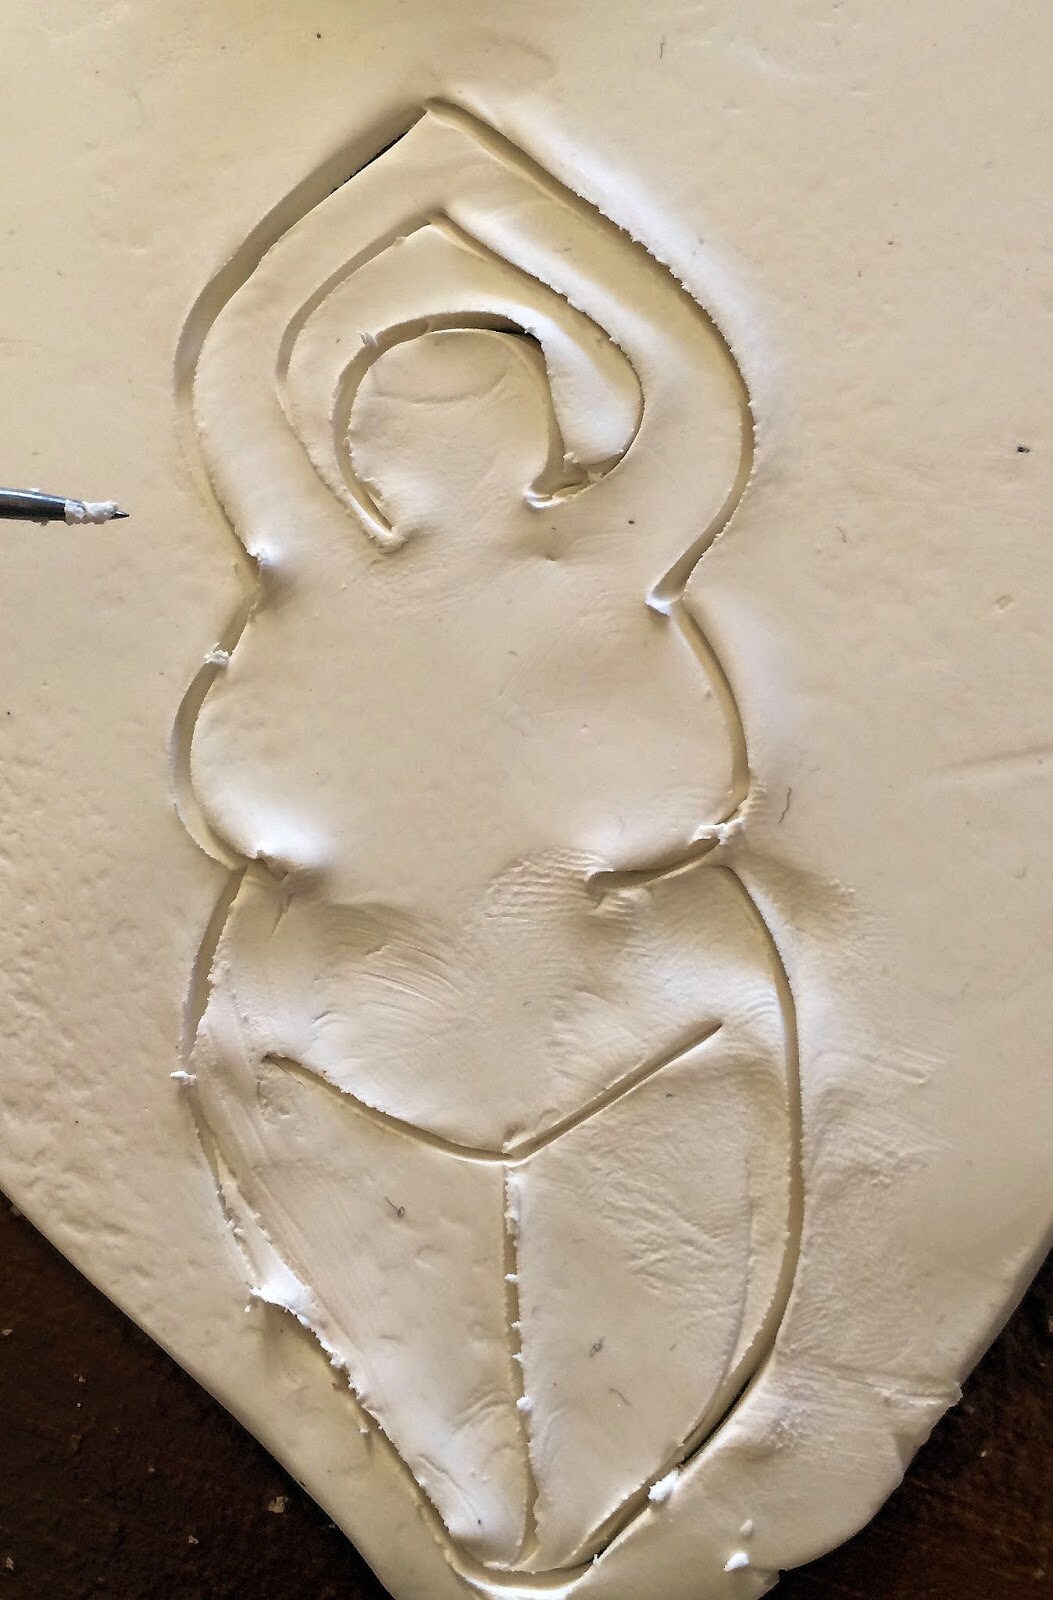
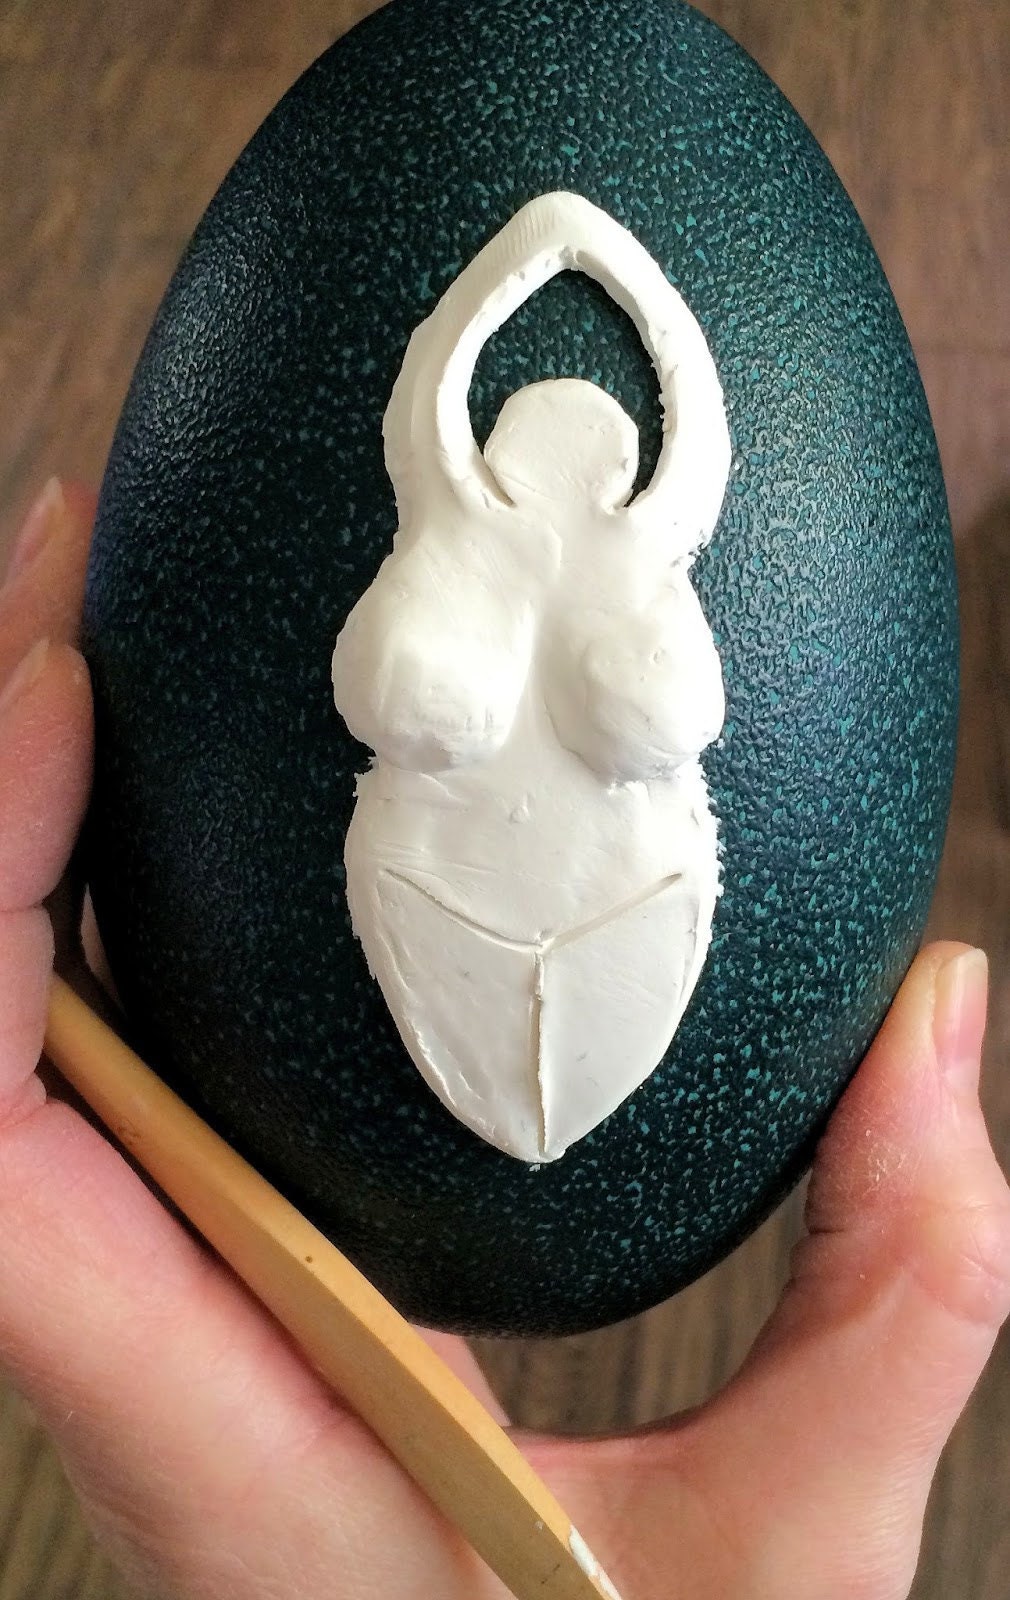
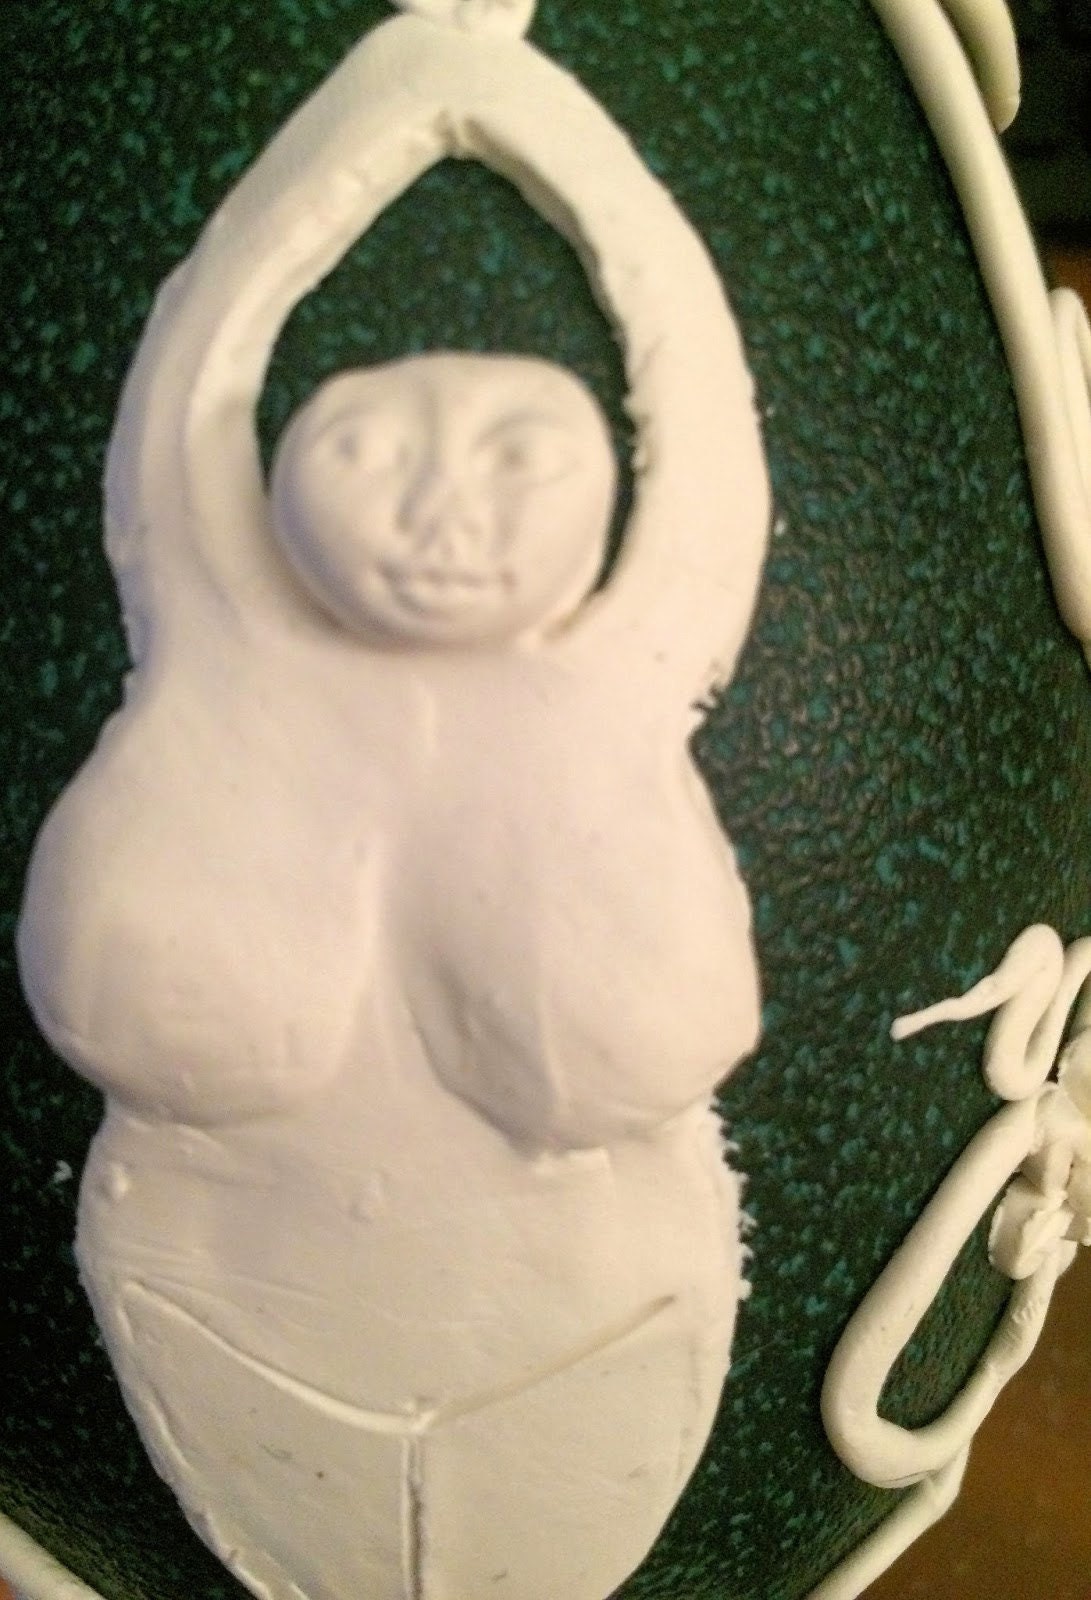
Roll out a ball of clay flat. I used a tool and just did a freehand of my goddess. If you need a template you could print out this pic and use that. But this goddess is fairly easy to draw out. There is just a simple line drawing. She is 3 1/2 inches long from the tippy top of her hands to the bottom of her legs. She is also 1 1/4 inches wide at her widest.
When you have traced your basic figure out with a sharp point, then you can cut all the way through the clay with the same tool and just transfer it onto the center of the front of the egg. Smooth her down and add clay to shape her breasts the way you want them. Also smooth her edges and lightly press her onto the egg.
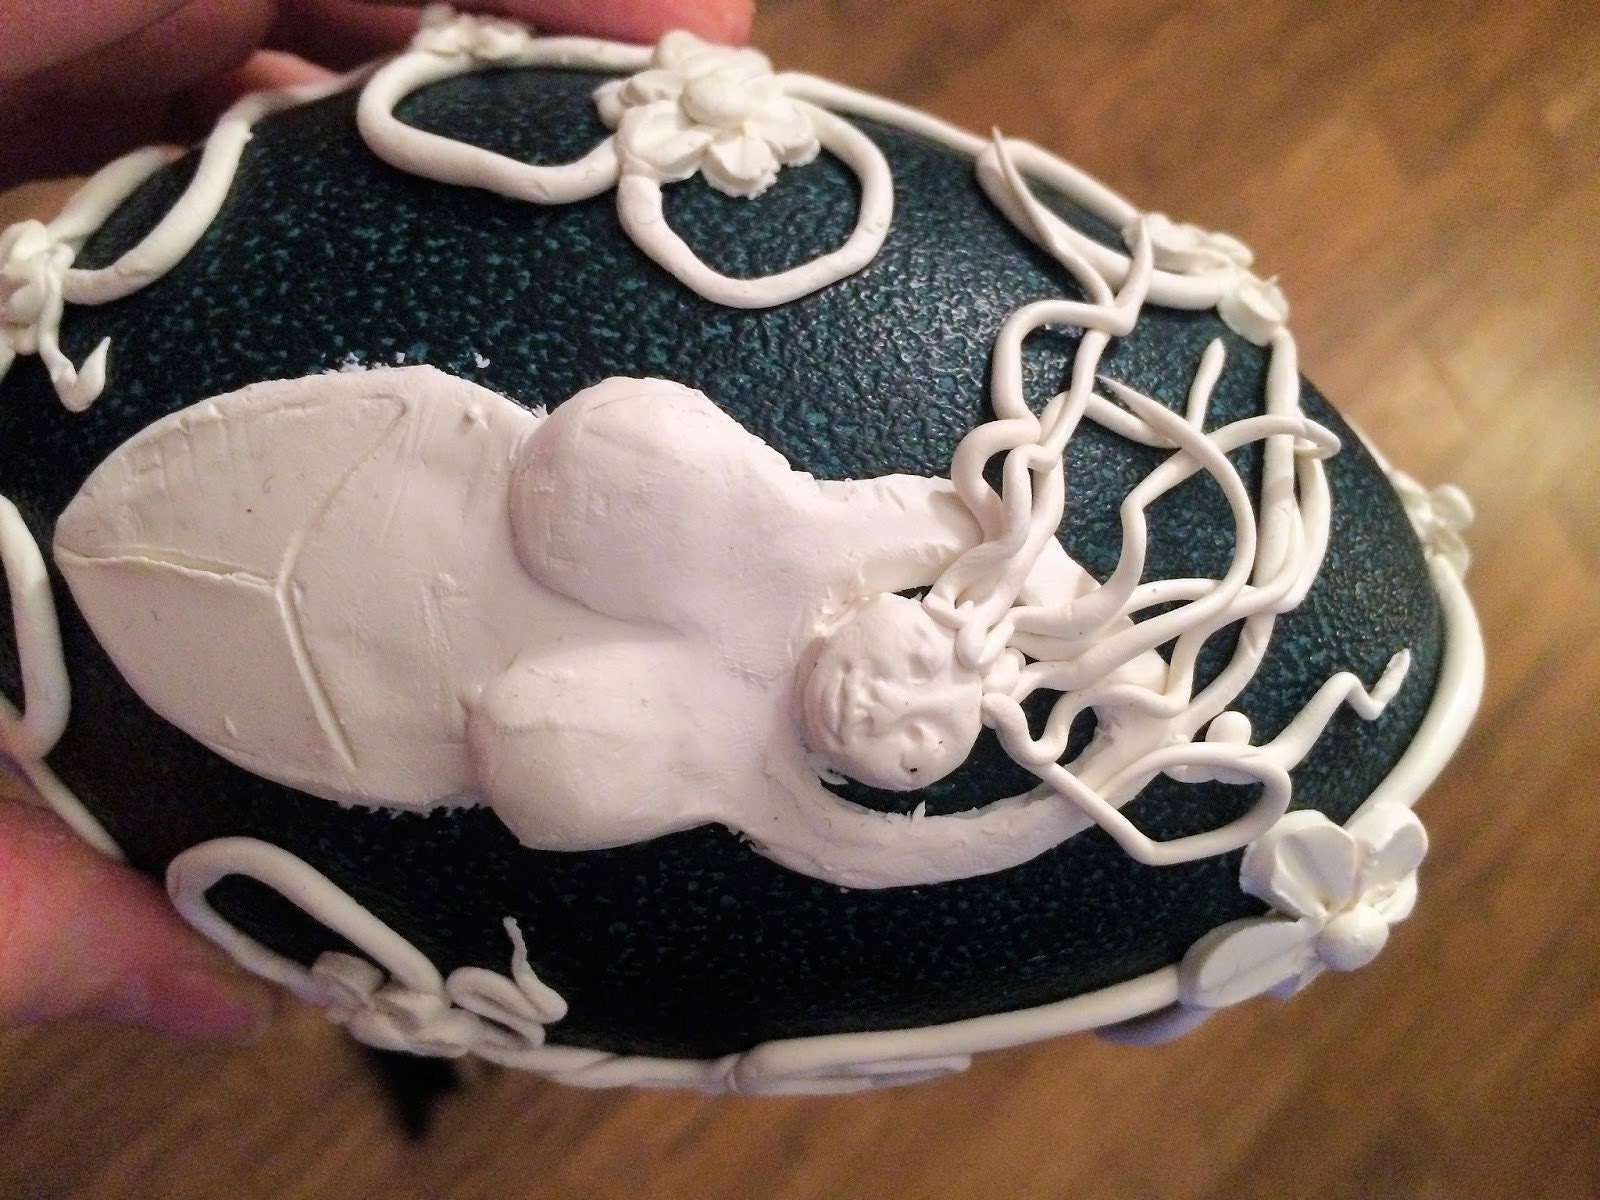
For the vines, just roll out the clay. I would just lightly pinch and roll the ends together of each rolled out piece to make the vines all one continuing vine. Very lightly mash the to the egg. You don't want to flatten your vine, you just want it to adhere to the egg.
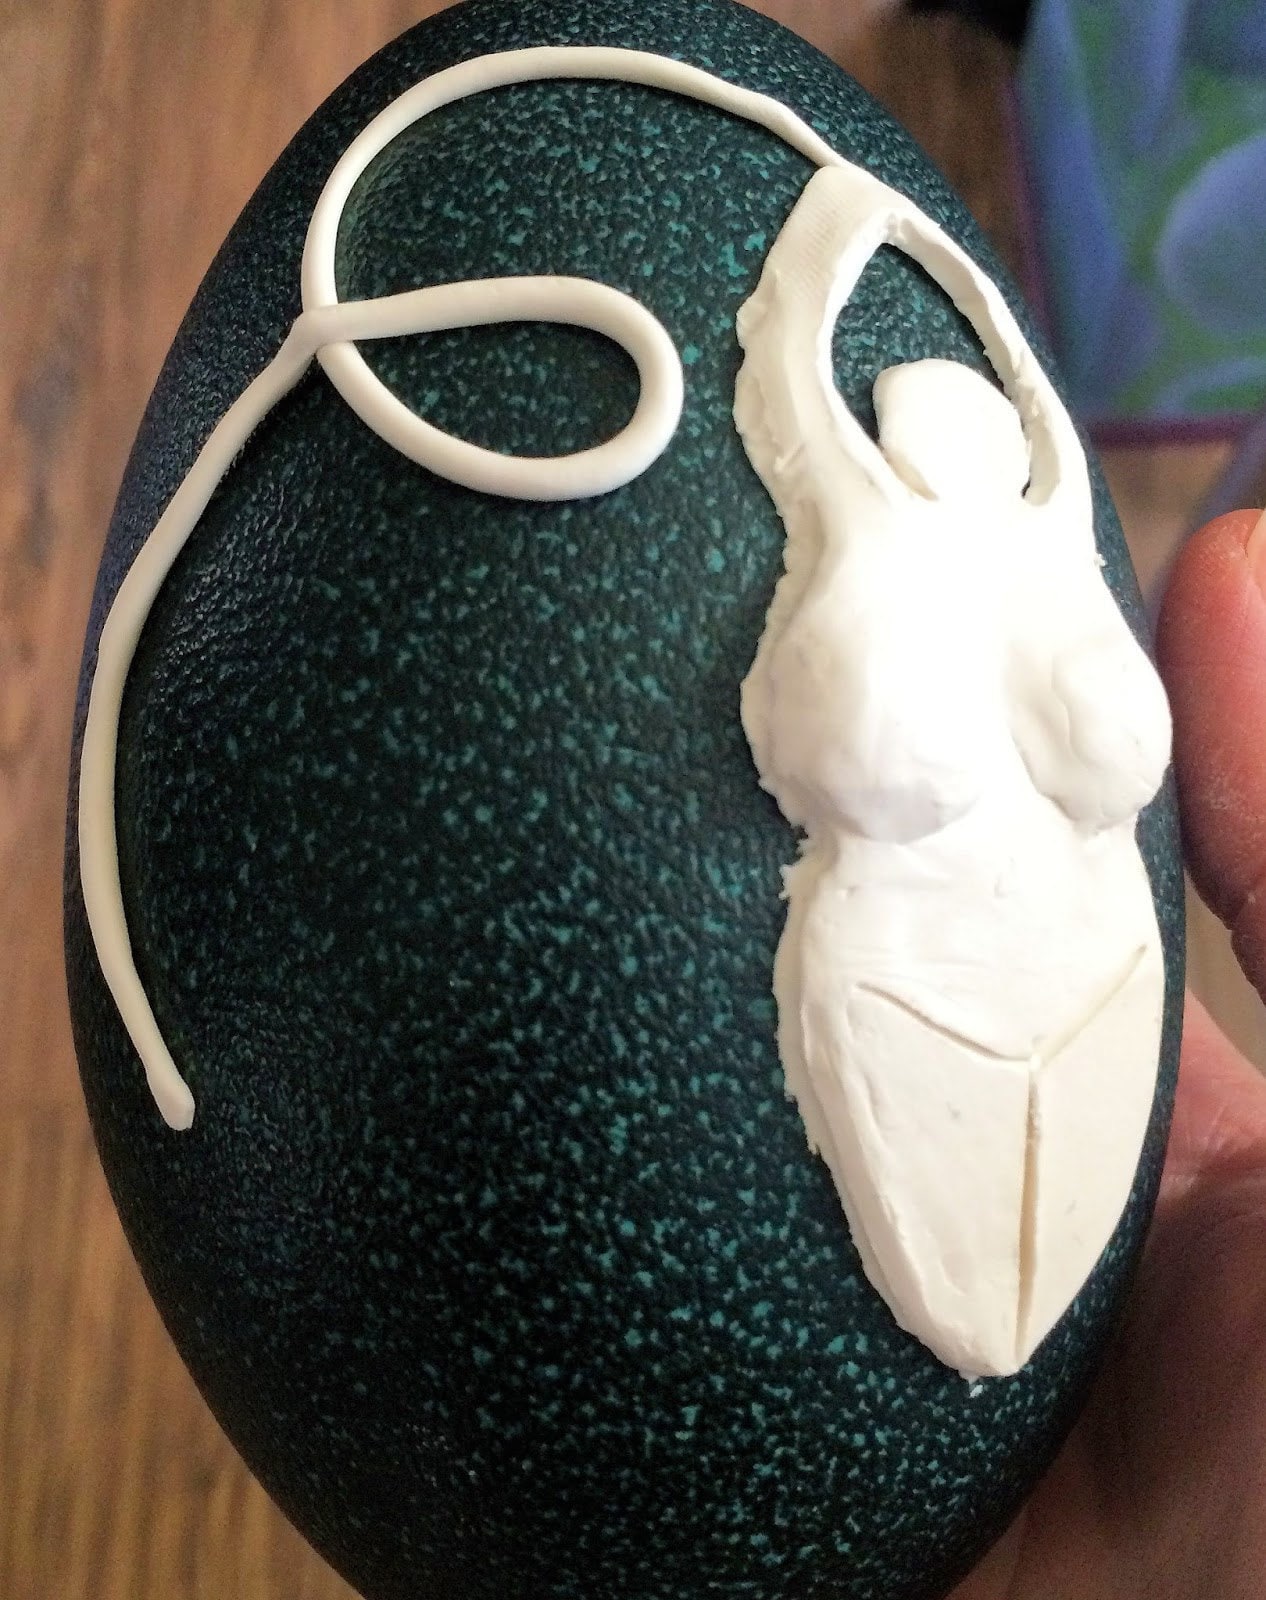
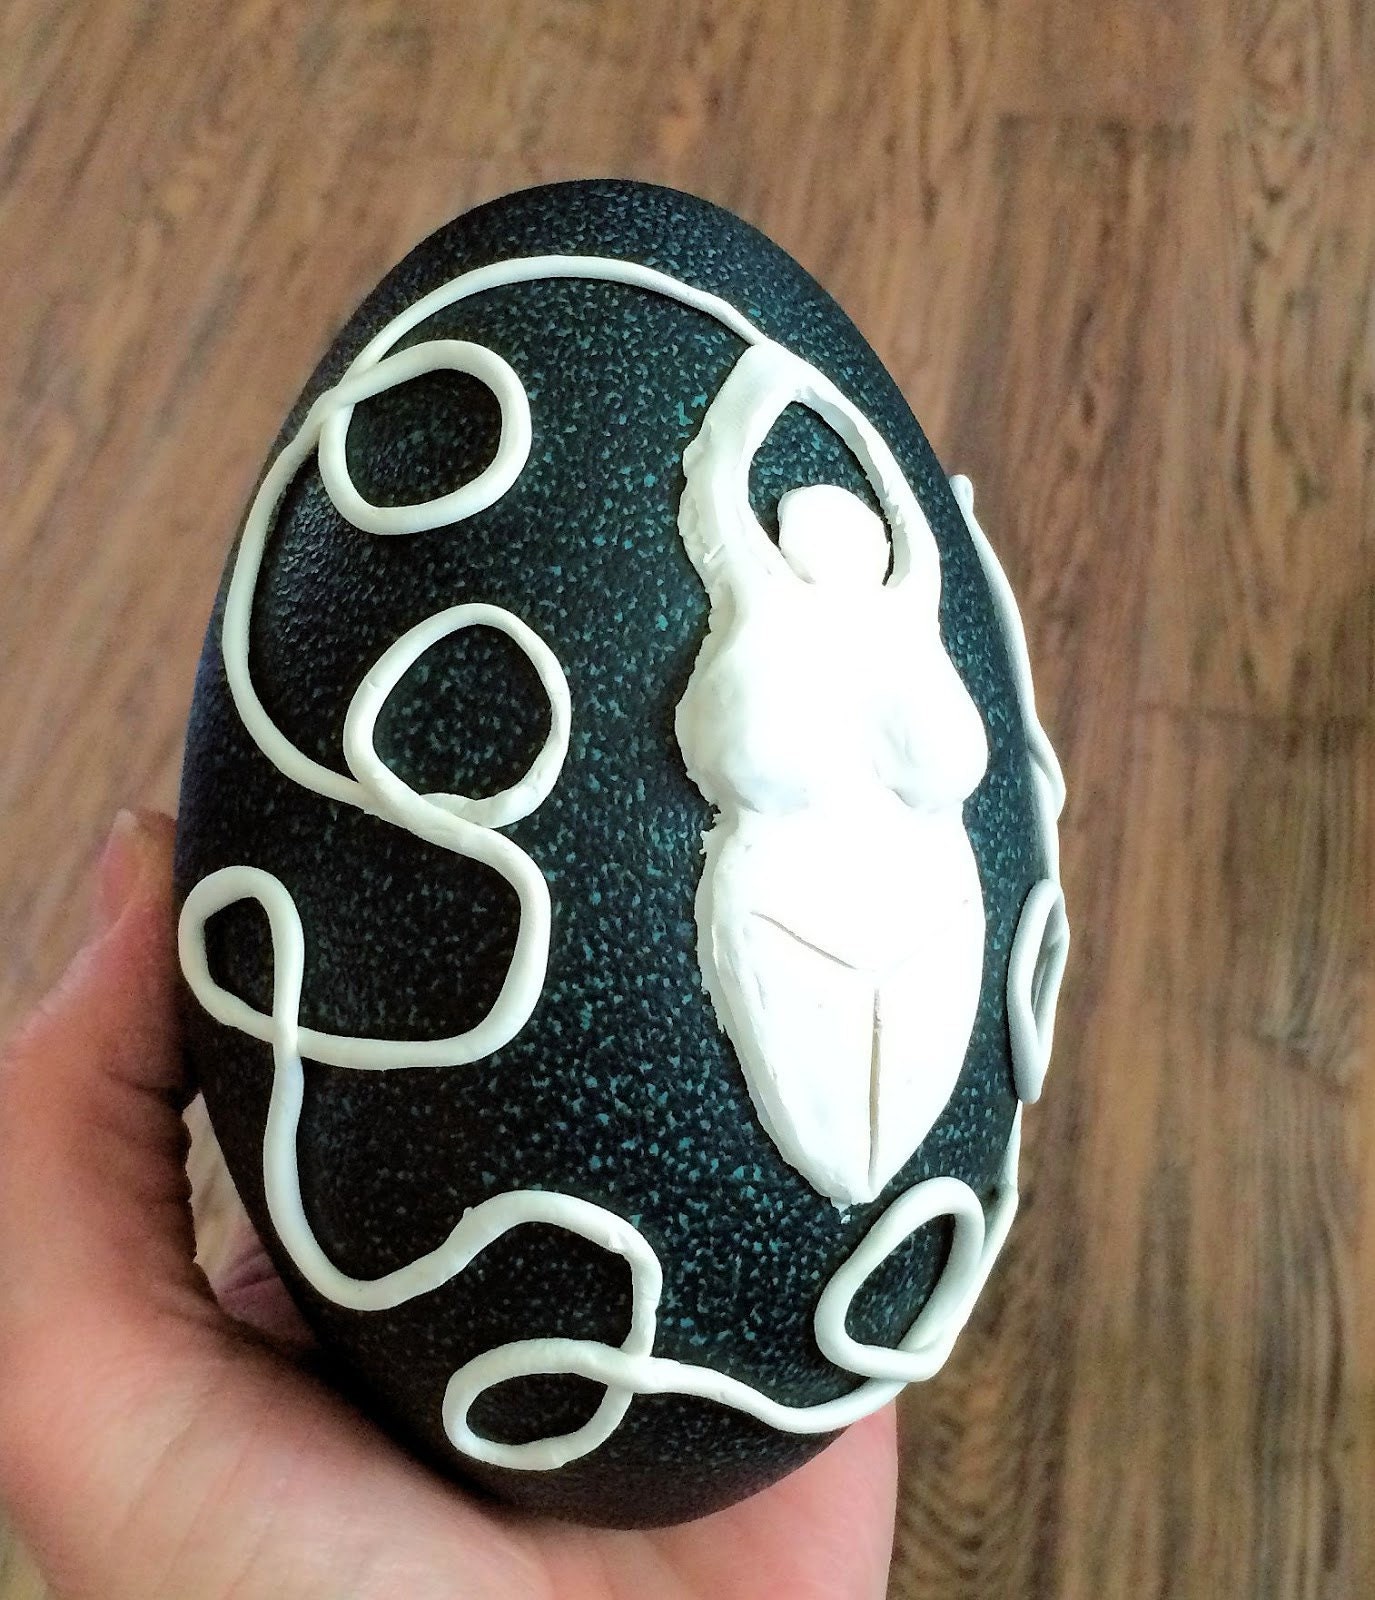
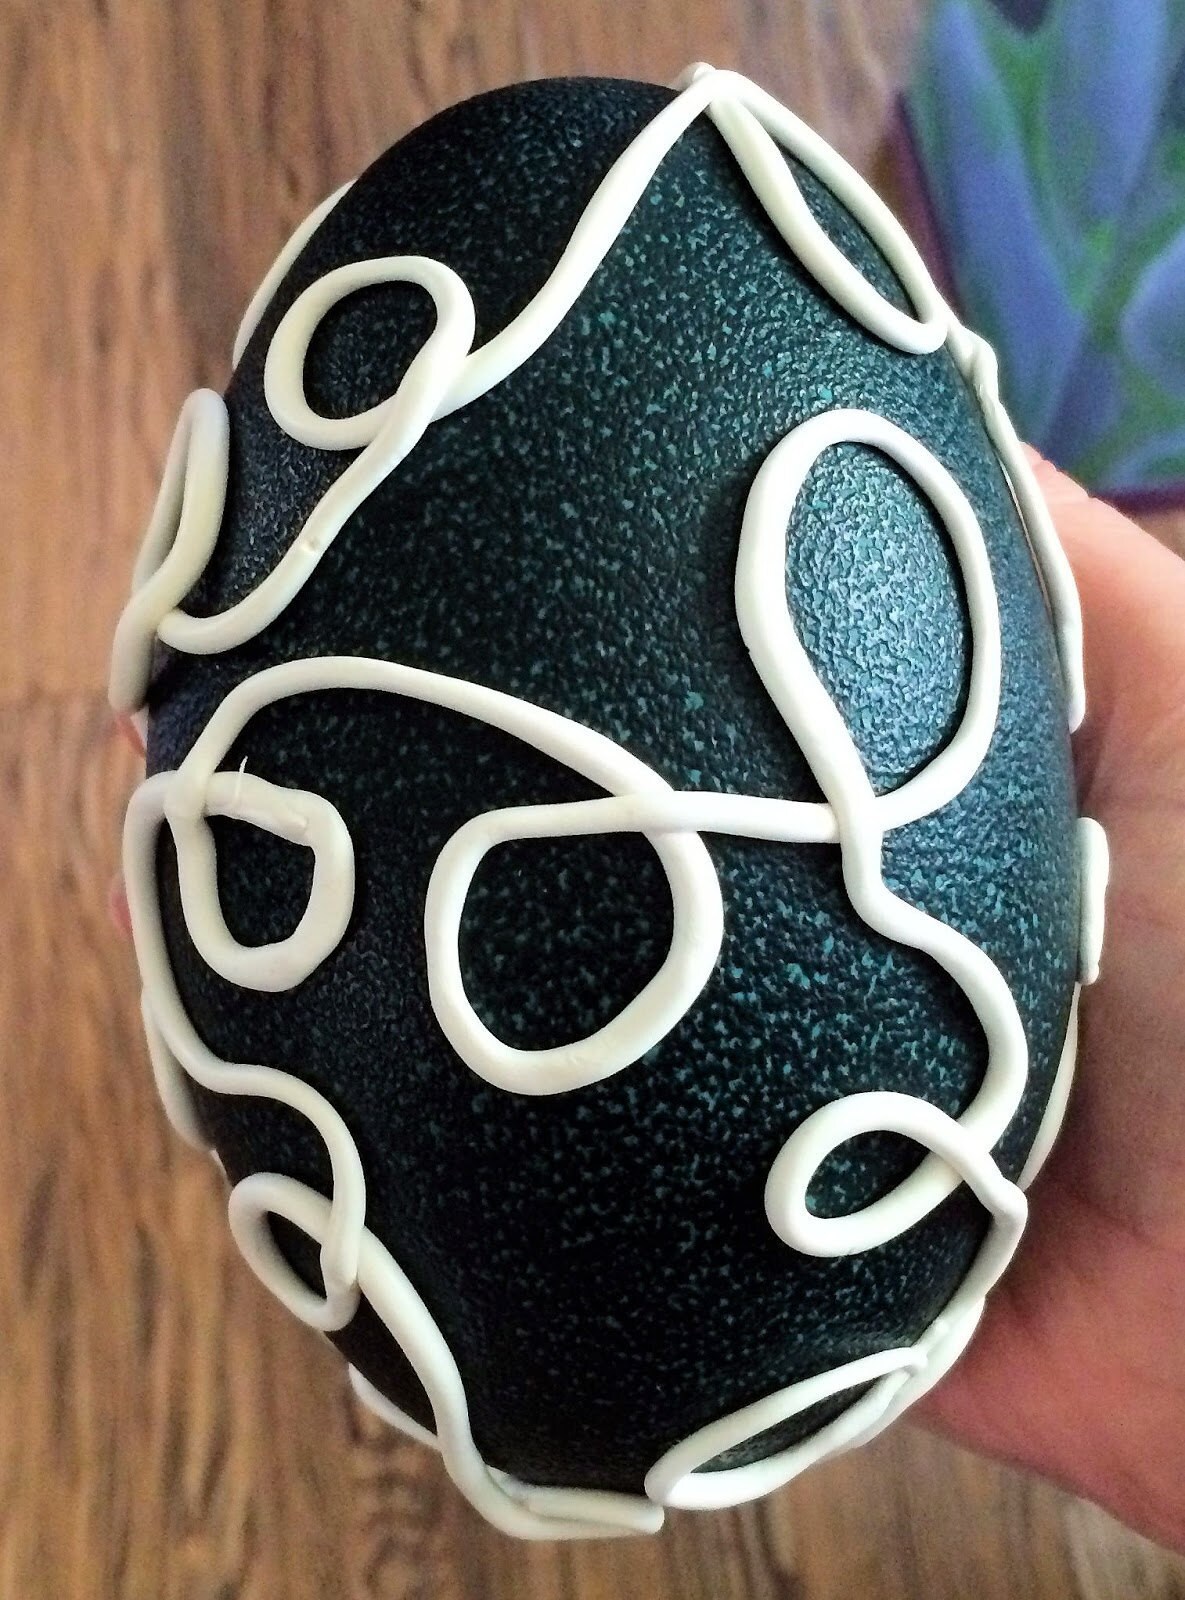
Go crazy with that vine, make it loop and turn directions. You can also roll out little springy looking new growths to go on the vines in different places. You can see one of those at the point of the goddess hands in this pic.
Next you want to make some flower shapes. I used the same pointy tool and just made a flower shape. Nothing elaborate, just 5 petals.

To give the flower petals some definition, you could use an orange stick and mash down the length of each petal.
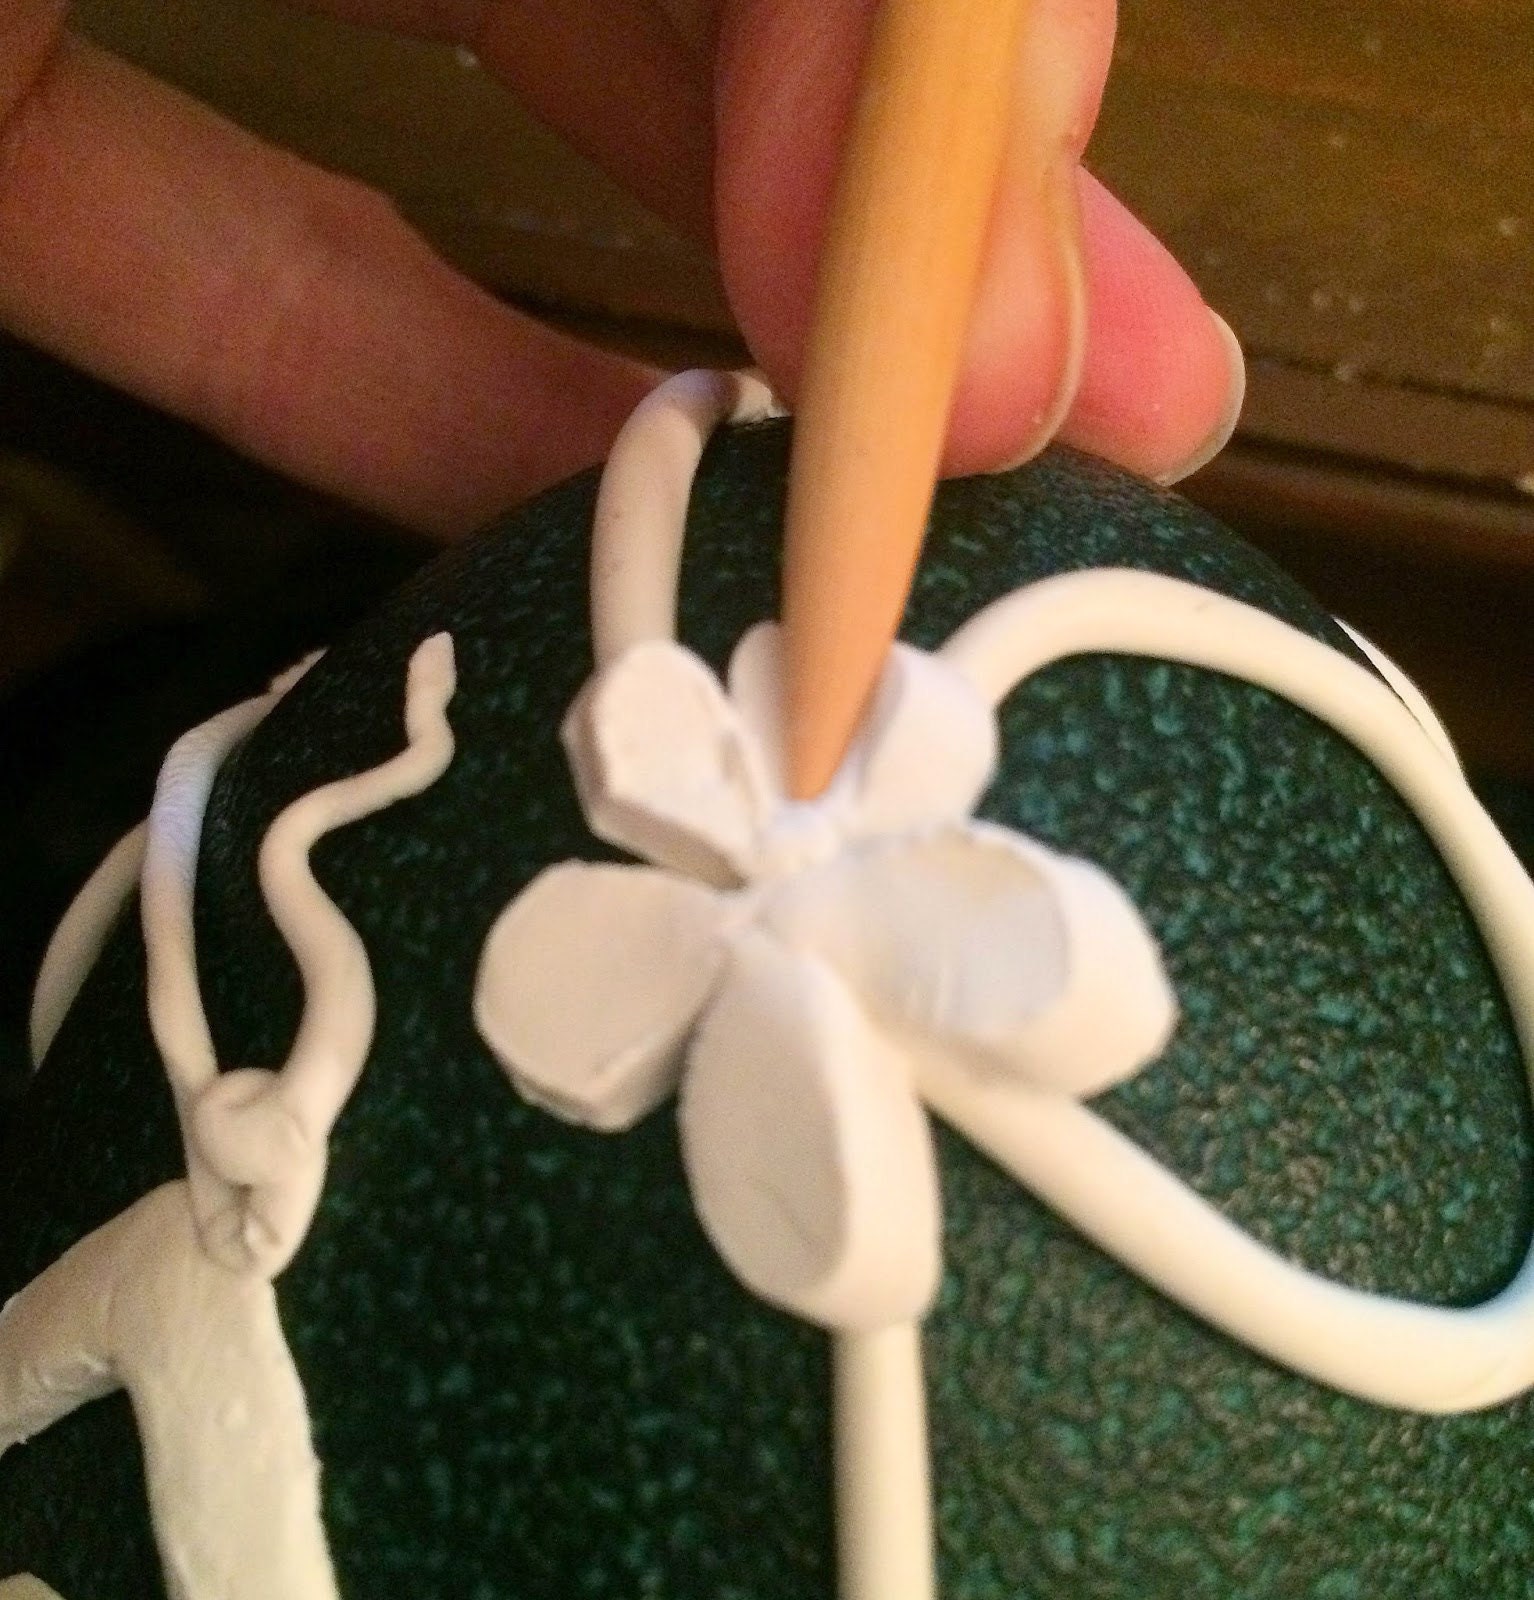
Roll a small ball to put in the center of each flower.
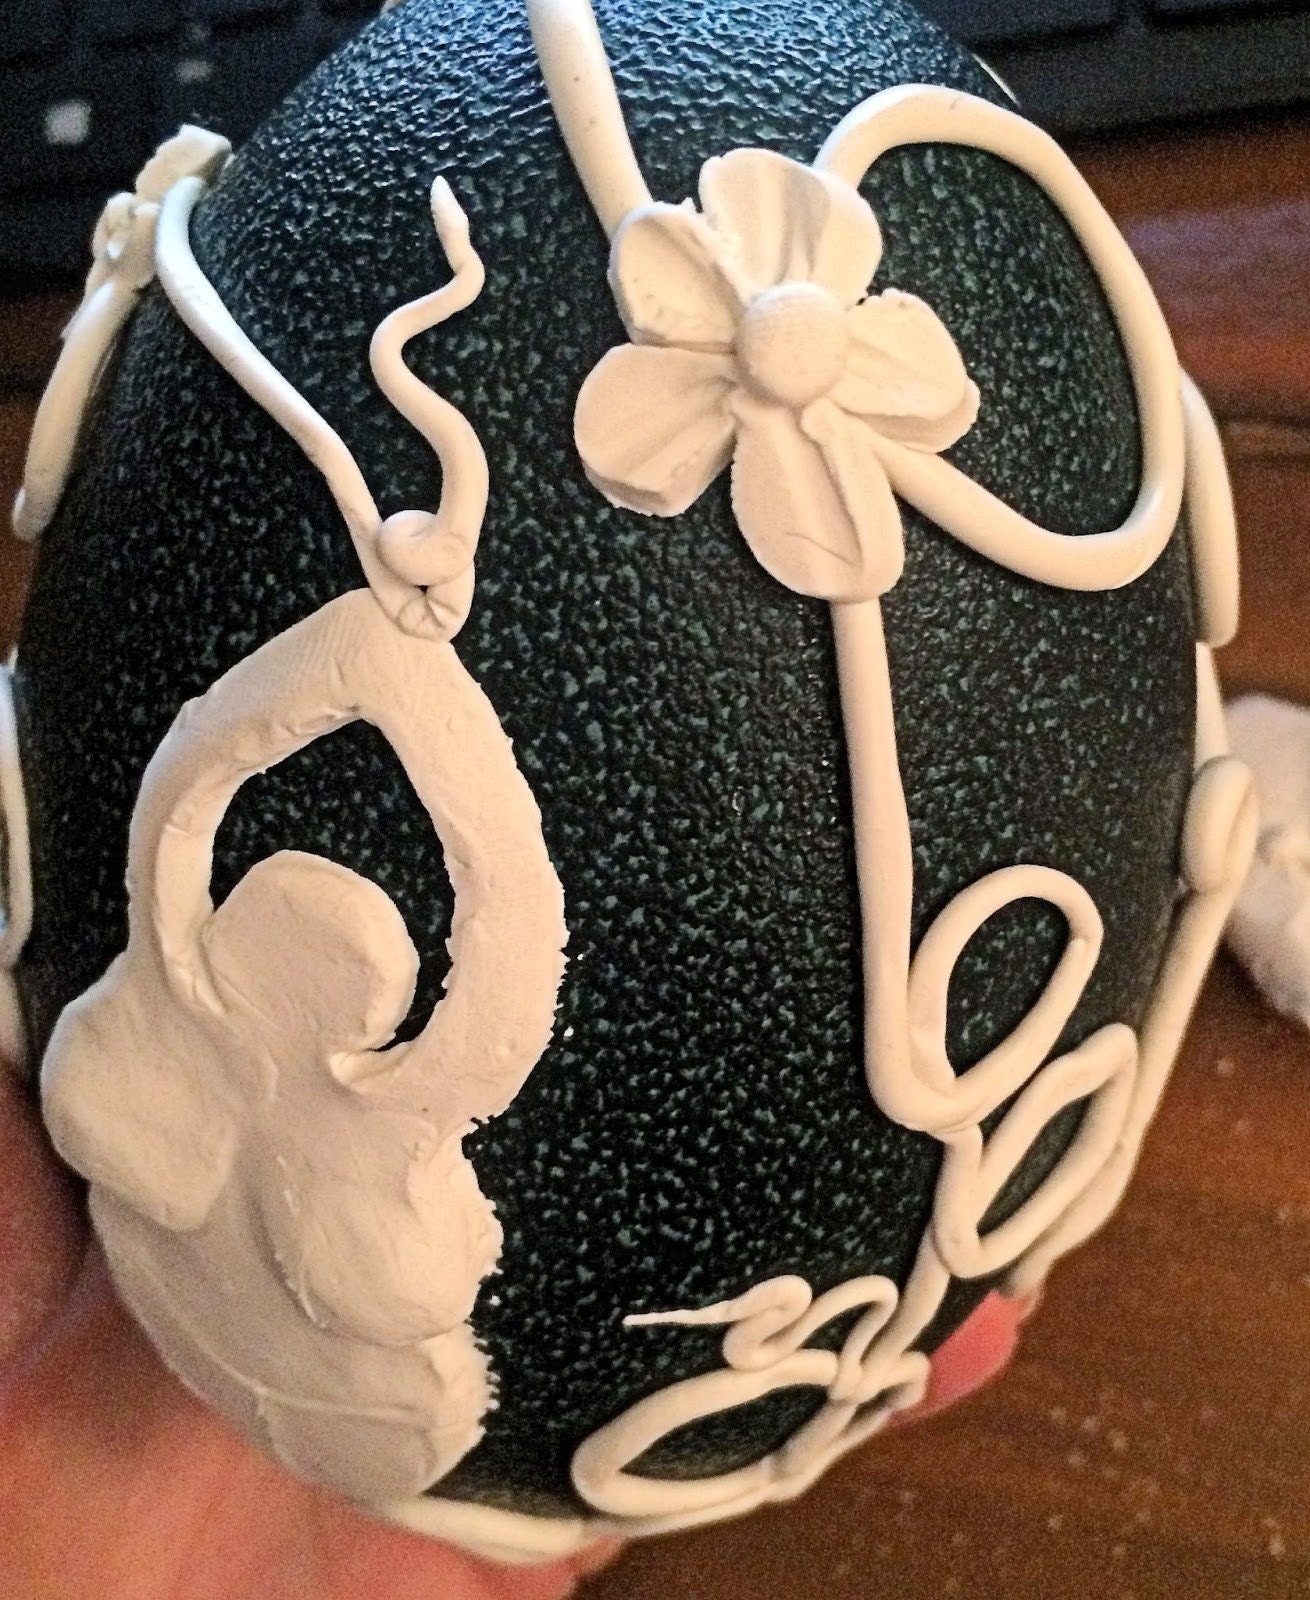
Place them where you would like a flower.
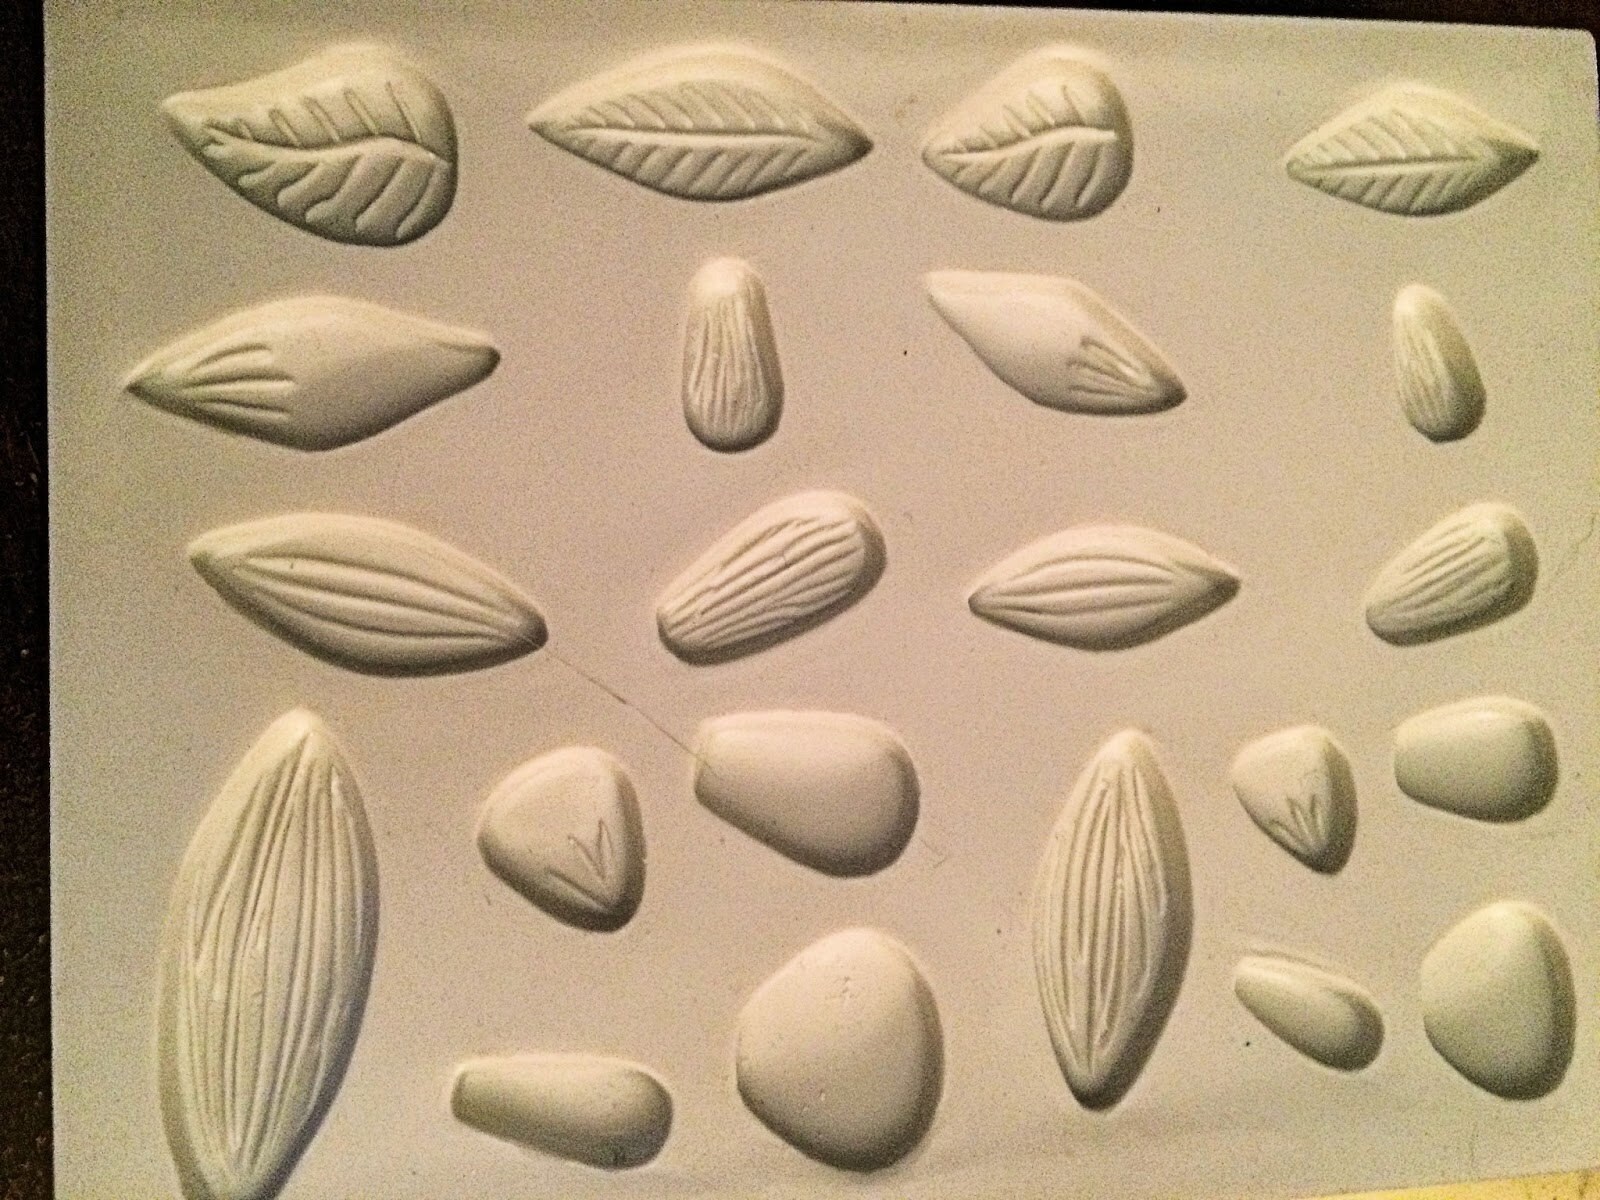
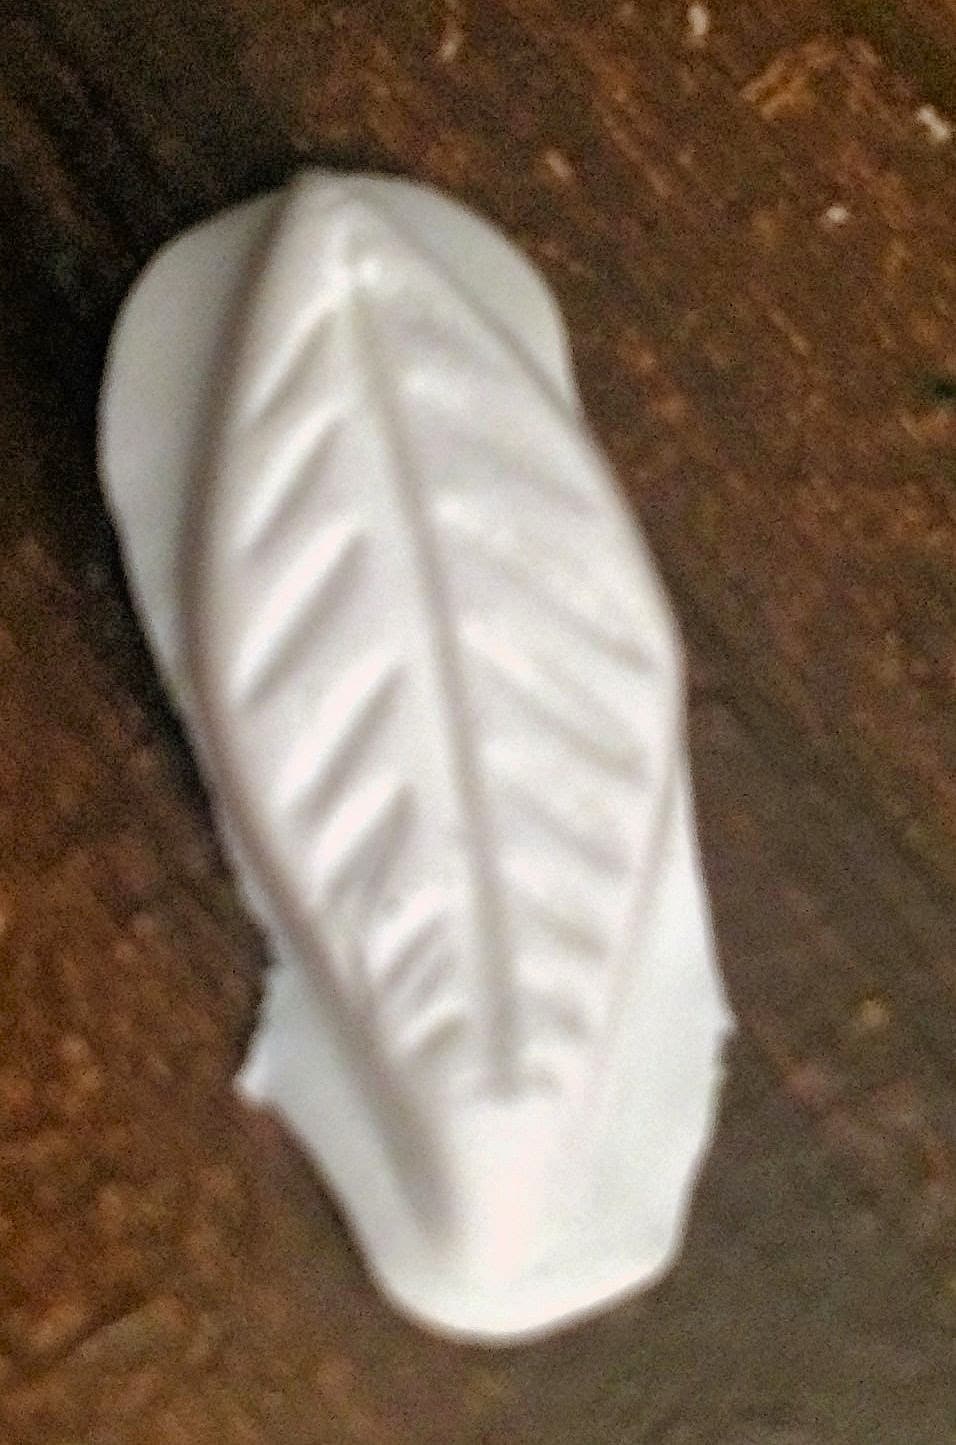
If you want leaves, you can either cut out a leaf shape and use your tool to make the veins OR you can use a mold. I don't usually use my molds, but I thought that I would for this. I only made 3 and placed them around the goddess on the front.
If you use a mold trim that excess clay off that is around the leaf.
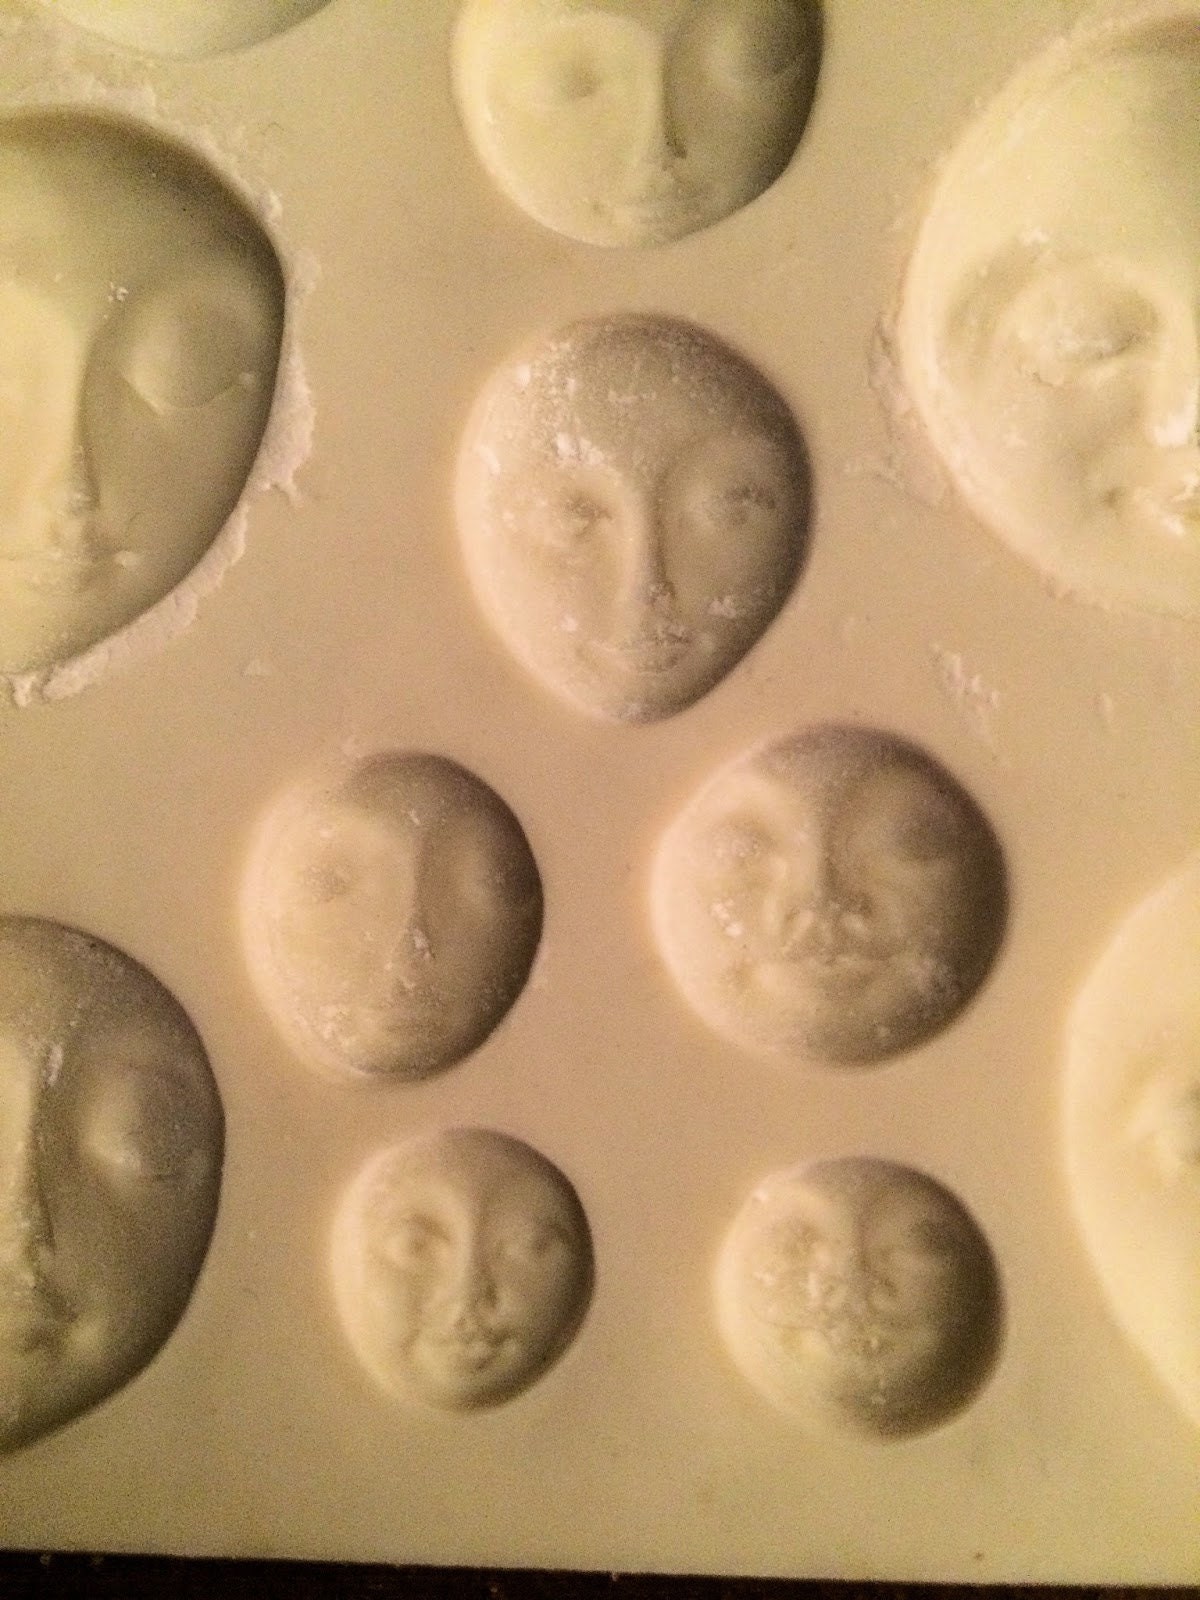
If you want to give your goddess a face, you can
a) shape one yourself
or
b) use a mold
I went with a mold
If you don't want to give her a face, just leave a blank, but build it up and smooth it like you did her breasts. If you use a mold for her face, when you lay it on the smooth head area, just take a wooden clay tool and smooth around the whole face, to make it look like one piece.
Next, give your goddess some free, wild hair. Her hair is going to grow and flow like the vines. So roll out some more, but make a small diameter than your vines. Lightly place and ever so lightly mash them to her head. They kind of look like dreads when you are finished. You can twist and turn them as well.

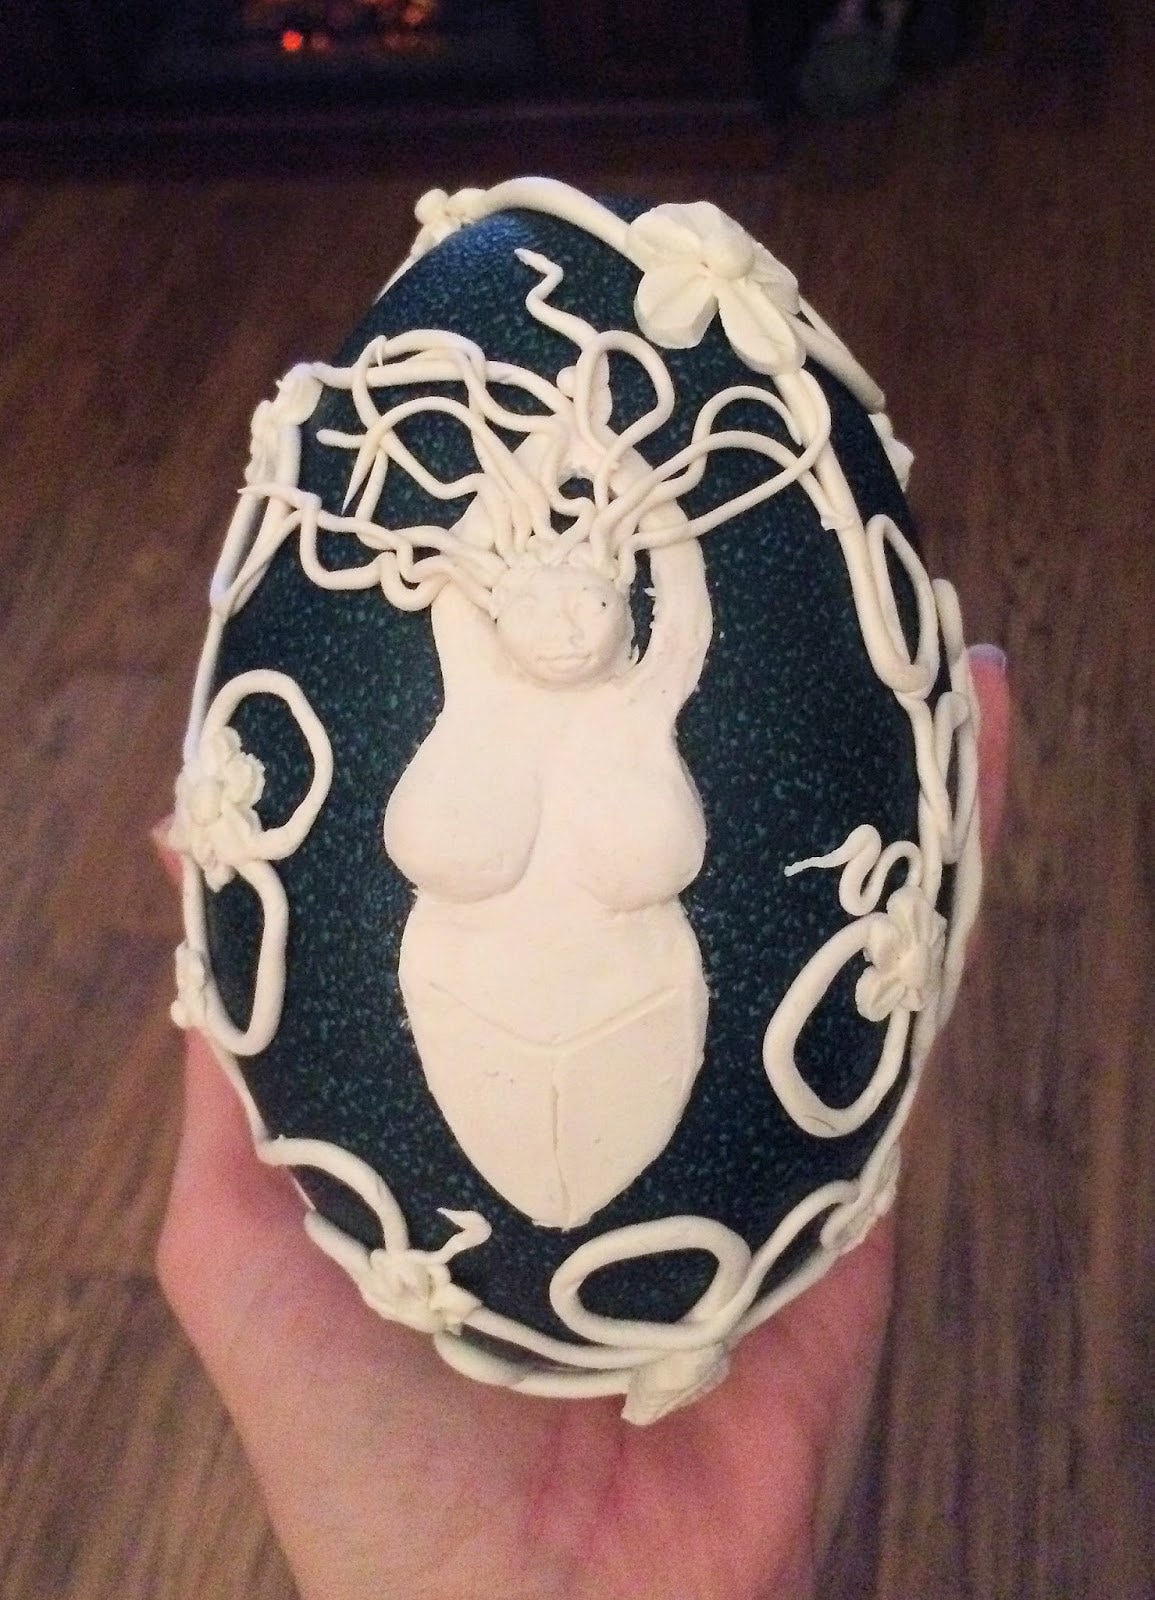
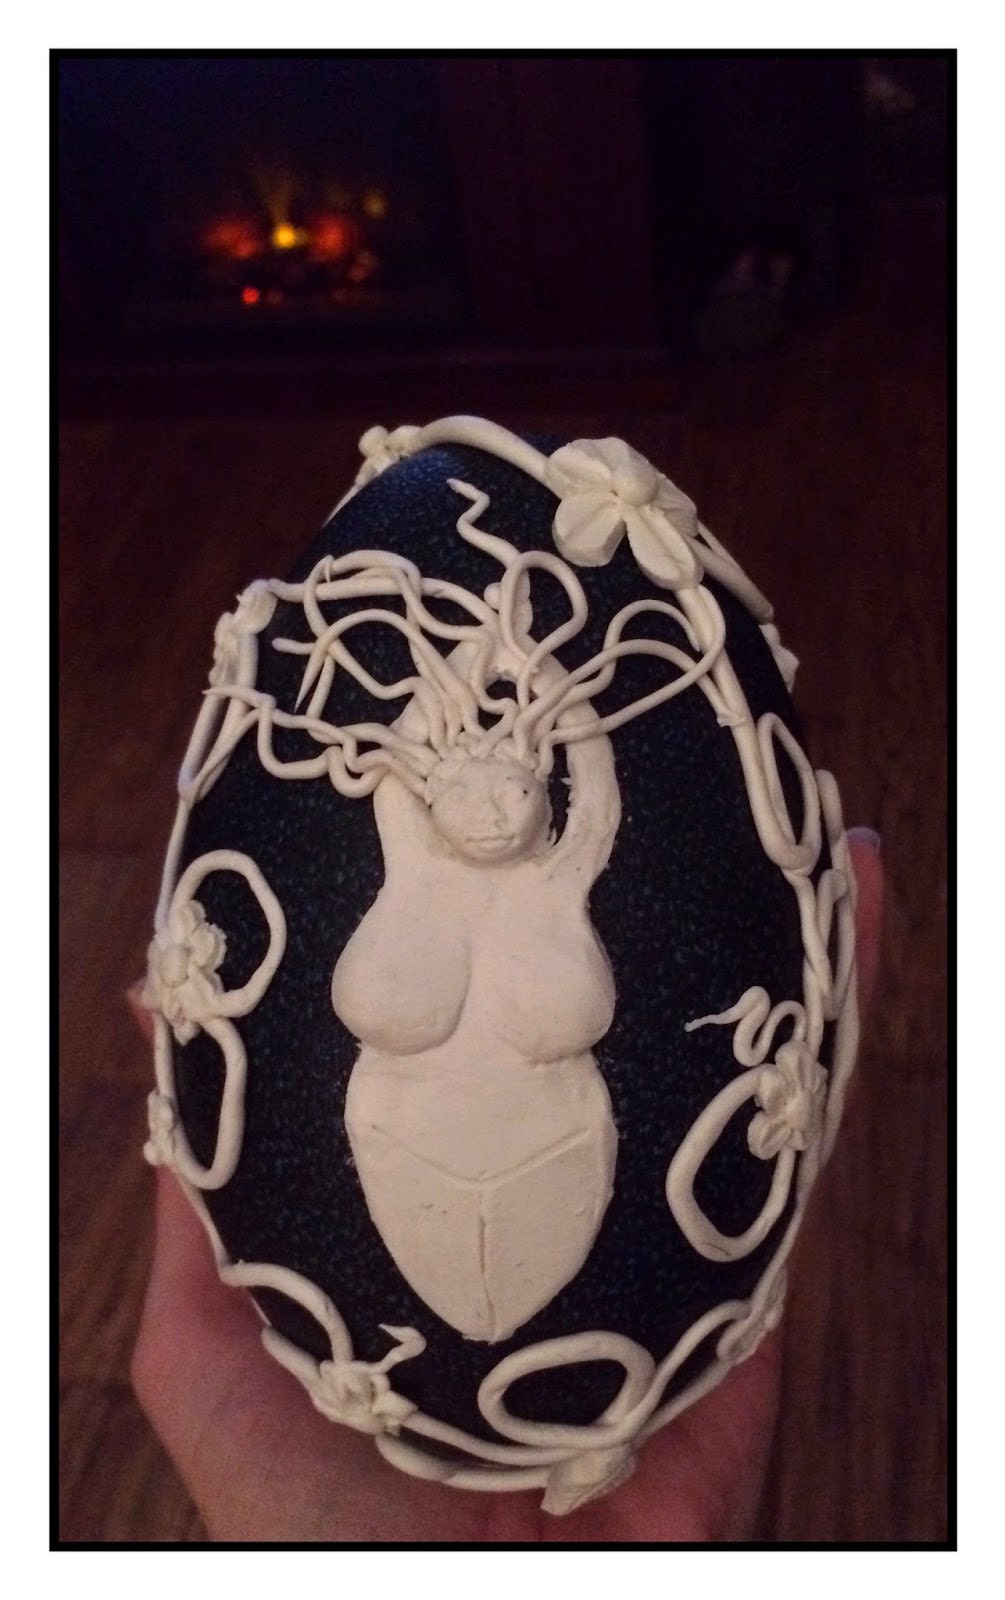
She looks lovely and she is ready to pop in the oven and bake! Preheat your oven to 275 degrees (F). Lie her gently (egg and all) on a baking sheet and let bake for 20 minutes. Take out and let it cool completely. If you find that you have any loose pieces, you can use E-6000 craft glue OR shoe goo. I use shoe goo. It's the same thing but you get twice the amount for 1/2 the price.
Now she is ready to paint. I want to go with a variety of green to give her definition. I used a base color of Plaid Acrylic in Pale Green. I defined her with Craft Smart Dark Green and Hunter Green and Green. I painted the vine in the Plaid Pale Green. The leaves were defined like the goddess. I decided to go with a popping DecoArt Red Wind for the flowers. I mixed it with a little Pearl Ex pigment for some shimmer. And then I used a purple to give the flowers some definition: Plaid Deep Purple.
As you can see, she has the base of pale green, with a dark green slightly defining her. If you get the paint on the egg, you can dip your brush in alcohol to remove it from the egg.
I put a spiral on her stomach with the hunter green.
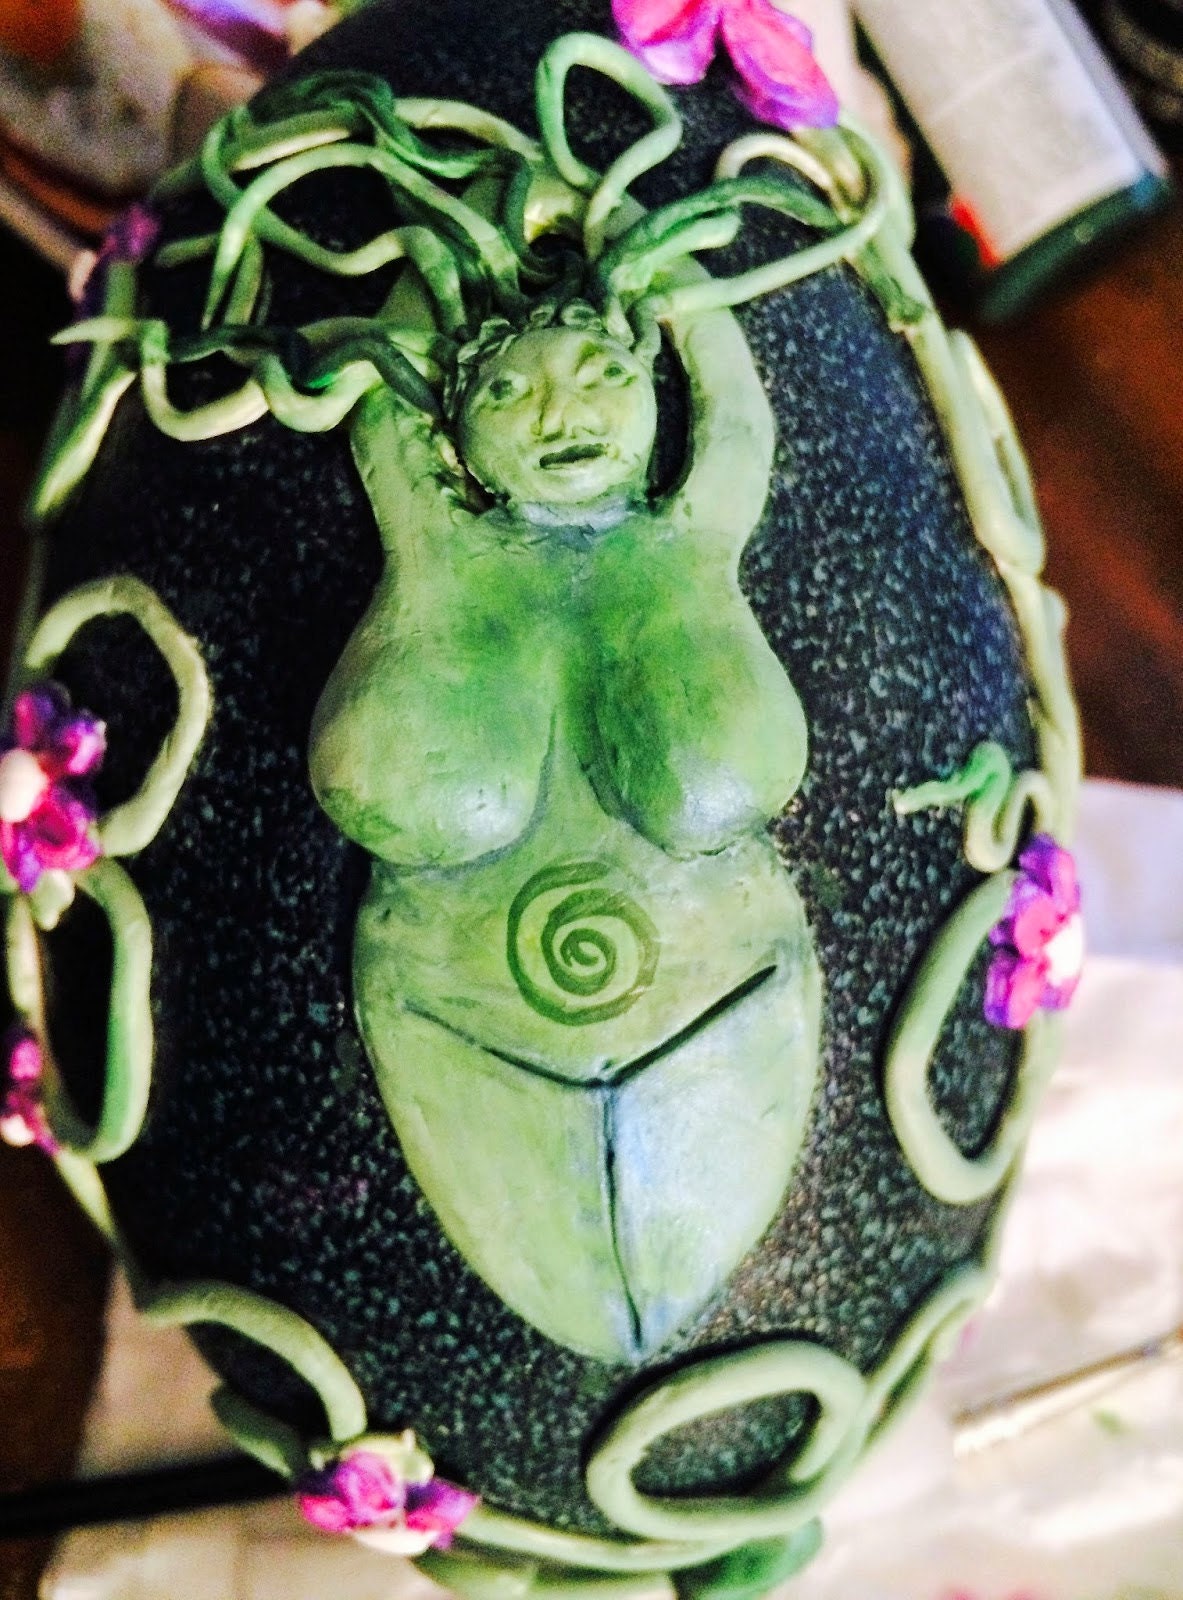
Then I went around inside the spiral with the pale green to make it more define.
Keep defining and blending her with the darker colors, and just make her your own.
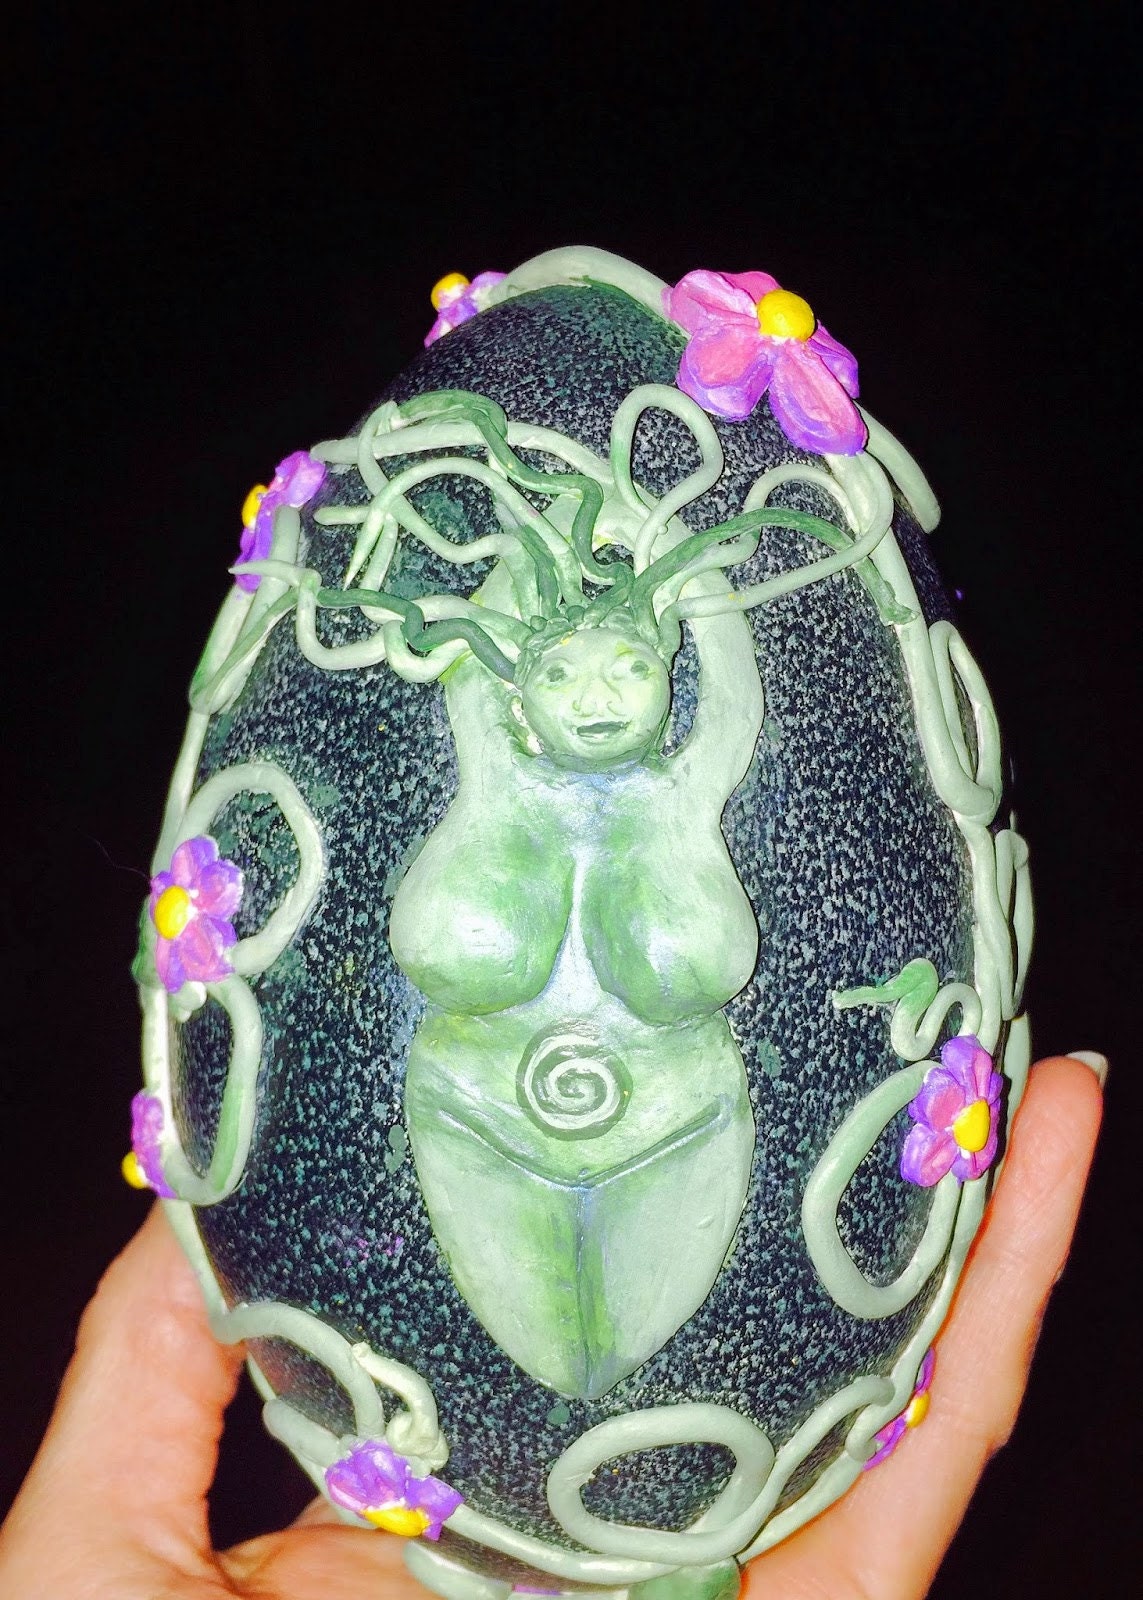
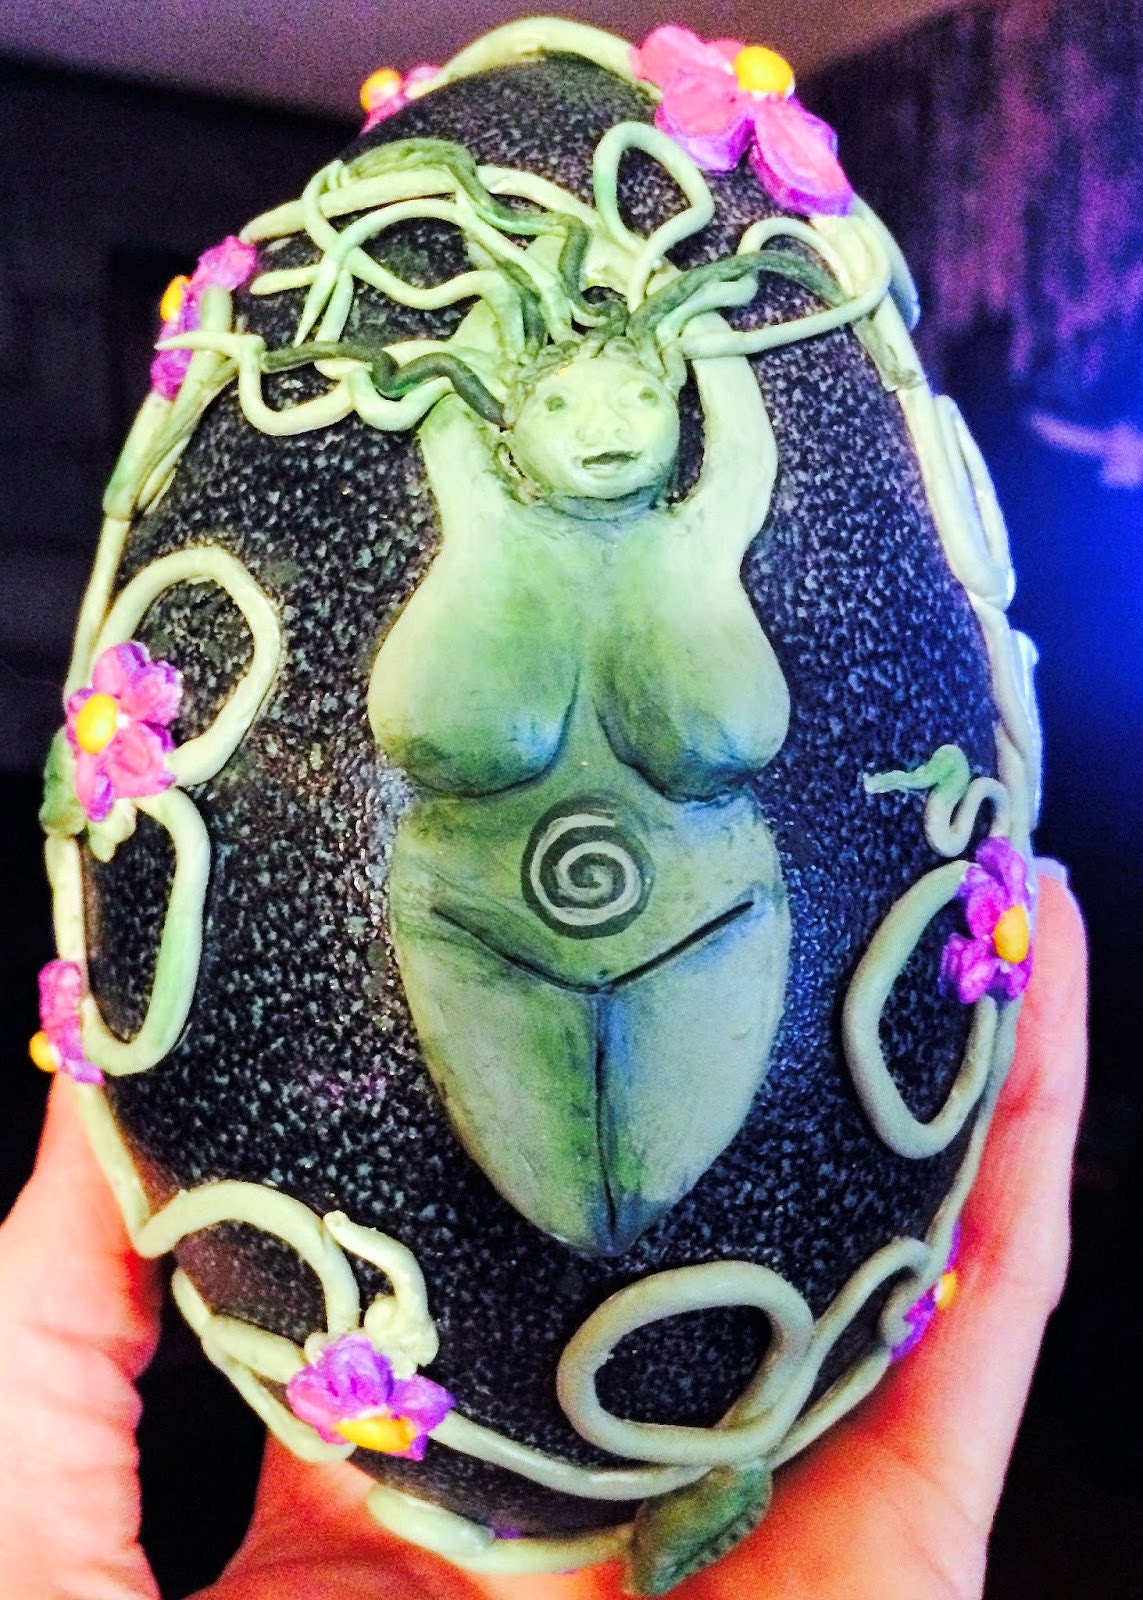
I think that she turned out beautifully! A lovely spring decoration!