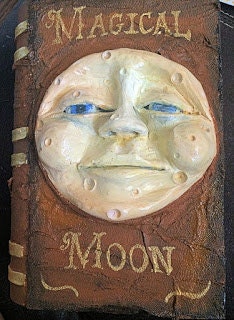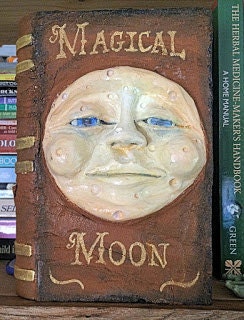
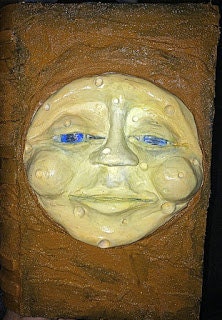
I know from looking at the finished pic that it looks like something that would be super hard, but I am going to take you through all of the steps to make your very own moon spell book. It's a very simple craft that looks wonderful when it is finished.
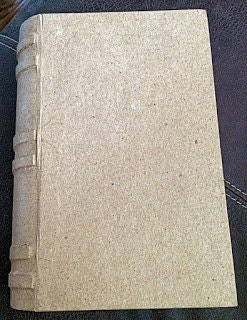
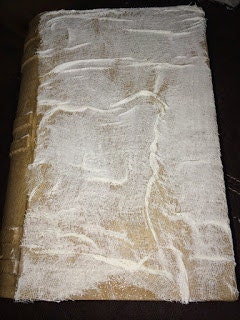
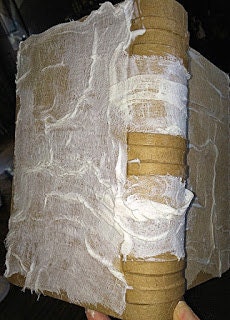
Craft supply list:Paper Mache Book BoxCheeseclothMod PodgeHot glue or craft glueVariety of acrylic paints (in your choice of colors)Original Sculpey Clay This is what the paper mache book box starts out as:
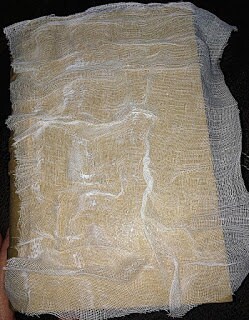
First, take your book box and lay a piece of cheesecloth and cut a piece that is just a bit bigger than the book cover. You want to be able to make wrinkles in it. This will give the outside of the book a wrinkled leather look. Apply a thin coat of mod podge on the front cover.
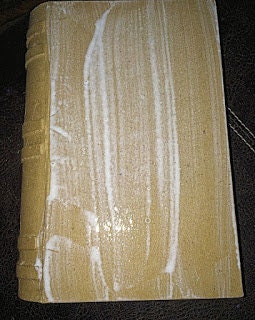
Lay the cheesecloth on top and make wrinkles in it. Gather all the overhanging cheesecloth as wrinkles on your books. Try to line up the edges with the edges of the book as much as you can.
When you have finished wrinkling your cheesecloth, put another layer of mod podge on top. This is what it will look like when you have added your wrinkles. Now let this dry. While it is drying, you will make your moon for the front.
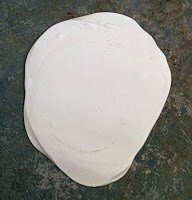
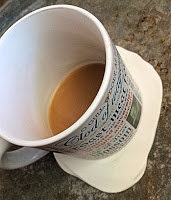
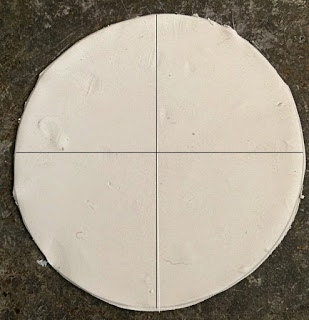
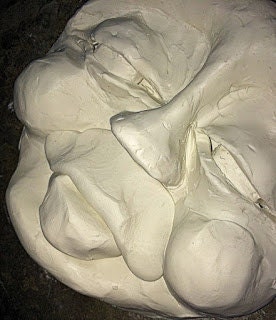
First roll out your piece of clay. I just went with what size of circle would fit within the sides of the front cover. My Shakespeare Insults coffee mug was the perfect size circle, so I used it to make the circle indention for the base.
After I cut out the circle, I make a cross-hair on the circle to line up where to put the nose and the eyes. It isn't exact, but faces usually aren't either.
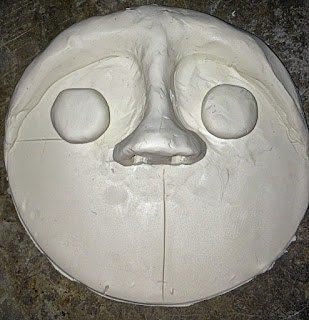
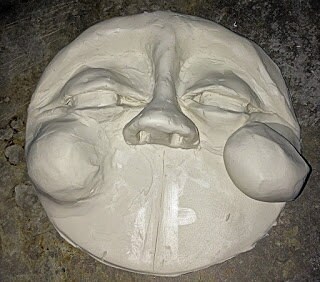
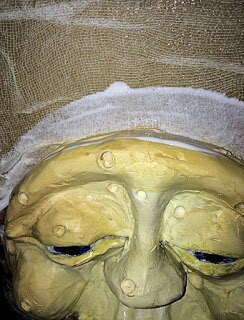
To make the nose and brows I throw a glob of clay and begin shaping the nose and the bridge of the nose, using the end of a pencil to jab into the ends to make the nostrils. I then roll out a 1/2 inch diameter worm for the brow. I position it above the bridge and begin shaping it to the horizontal line ends. It looks like this in the end. As you can see, my nose isn't perfect and that's okay. I never go for extreme perfection.

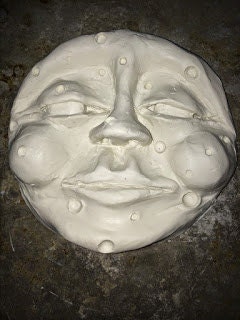
Next step will be the eyes. I made flattened balls around 1 inch in size. Position on each side of the nose on the horizontal line.
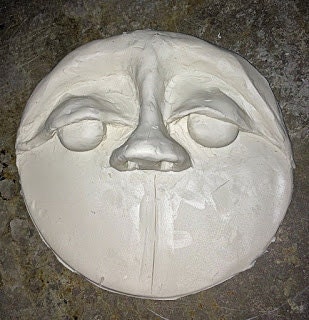
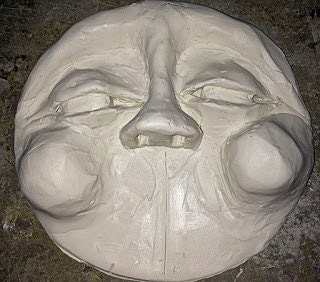
For the lids of the eyes (upper and lower) make 4 half moons. Big enough to cover a bit of the top and bottom of each eye. Blend the clay edges into the existing clay.
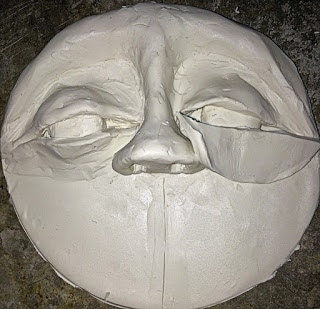
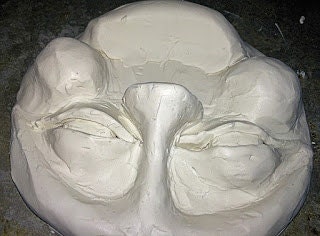
Next you want to shape out your cheeks. We are going for a comical puffed round cheek look, since this is the moon. Roll out a large ball and just blend it down to the existing clay like so. I have blended the one on the left. The ball size is golf ball size. The second pic has both cheeks blended
The chin is made next. I roll out a 1/2 inch diameter worm and place it at the bottom of the circle, just blending it in around the edges. You want it to stick up in the air like the puffed cheeks.
Roll out some large worms for the upper and lower lips. The bottom lip worm will be slightly smaller.
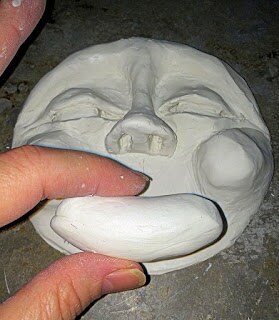

They are quite comical at first (pic on first), but you want to have enough clay to blend under the nose and up into the cheeks and down into the chin (middle pic). When you are finished blending your lips, take a knife point or clay tool and gently run it between the two lips, making a distinctive separation of the lips. Also, if you want the vertical groove (the philtrum) below the nose, on the top lip to be bigger, you can add a bit of clay and shape it (second pic)
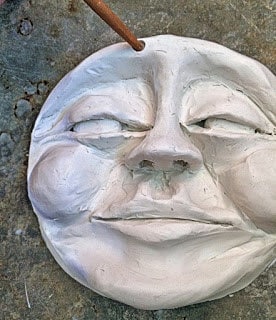
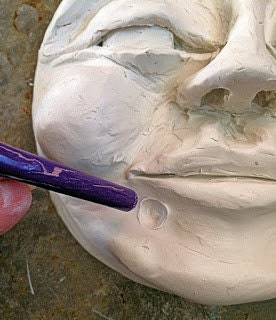
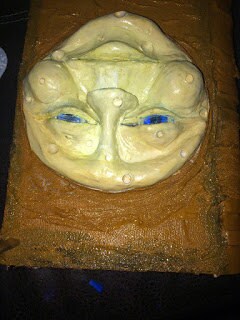
It's okay if you don't get everything perfectly smooth it's okay, this is the moon after all. For character add some craters by taking different size paintbrushes and pushing the non-bristle end into the clay.
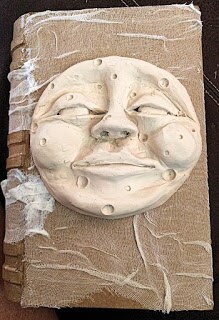
When you are all finished shaping your moon put it in the oven and bake at 275 degrees for 30 minutes. While Mr. Moon is baking add some more detail to the covers of the book. You now want to add the cheesecloth to the back and to the outer edge. Let dry while the moon is baking.
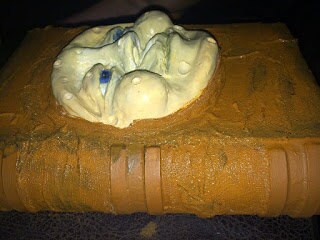
When the book has fully dried, attach your moon to the front of the book. Use a craft glue like shoe goo (which is a bigger and cheaper version of E-6000).
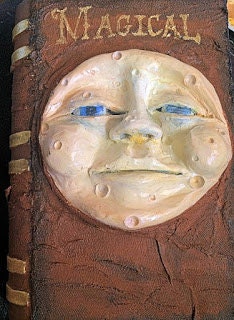
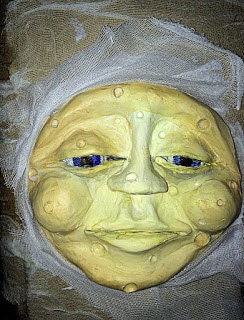
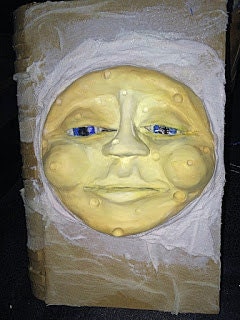
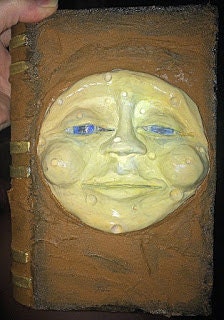
Next we will paint the moon. You can do this in whichever colors you like. I almost went with a blue moon. However, I went with the yellow/gold moon with blue eyes.
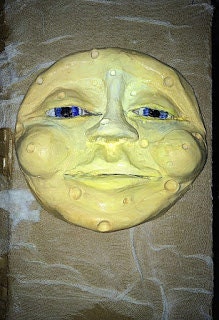
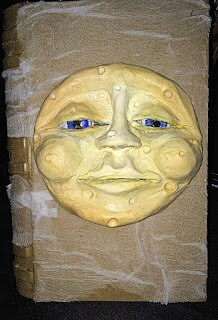
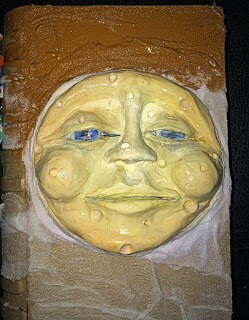
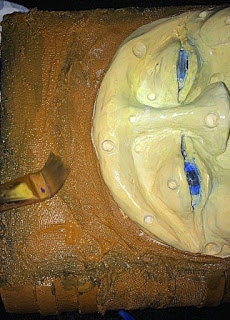
I began with a white center blending into daisy yellow and finally blending that into king's gold. Now we want the book to look as if the moon face is coming out of the leather. So we will be using the cheesecloth and the mod podge once again.Apply the mod podge around the moon and up onto the outer edge of the moon. Like so:
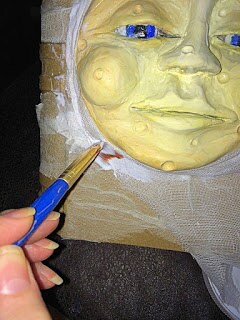
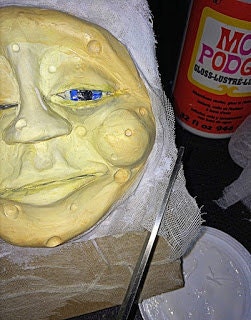
Begin wrapping the cheesecloth around the outer edge of the moon. Apply the mod podge over it as you go. Cutting off excess cheesecloth as you go.Cover with a layer of modpodge and let dry for about an hour. When the moon is dry start painting with your choice of color. I'm going to go with a brown leather look. You want to make sure that you put the paint on thick to hide the cheesecloth. Cover all the cheesecloth. Let the front dry, then paint the back.
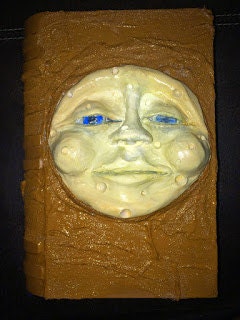
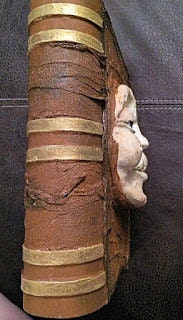
To give your book an old look, you are going to wash black over the edges and wrinkles. Water down some black paint and go around the edges of the book, lightly brushing the paint on.Continue with the back and side. Let dry.
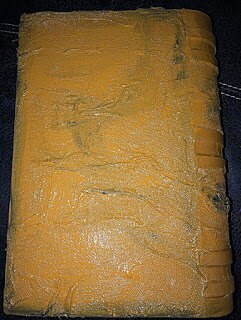
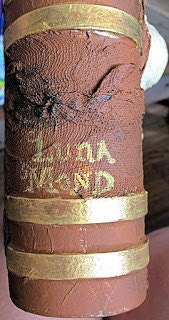
Now your moon looks as if it is encased in a leather book. To give your book gilded pages, just brush a light coat of black over the "pages". When that dries, lightly brush the gold, leaving some black showing. If you need to you can lightly brush black back over that.
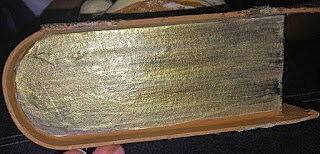
If you would like to highlight the binding, give them a coat of gold also.
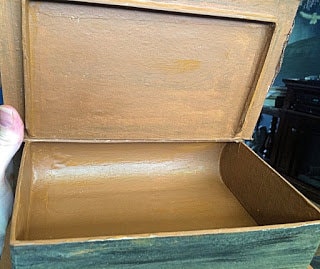
If you would like to title your spell-book, you can stencil some lettering or freehand. I also gave my book an author, with a nod to the wolf name Moon Moon.For finishing touches, you want to paint the inside of your box.And there it is, your very own magical spell-book. Mine is now happily sitting on a bookshelf.